Being that I drive a 1/4 tonne pickup (ford ranger), the horn is rather weak and "car" sounding. To fix that, I gave my pickup a voice -- that voice being an air horn from Amazon. This is how the installation went.
Horn Installation
I decided to buy an Amazon air horn for my truck. The horn itself was not crazy loud, but definitely louder than my regular OEM horn. I'm not 100% sure the horn meets the advertised 150 dB rating, but I am happy with it.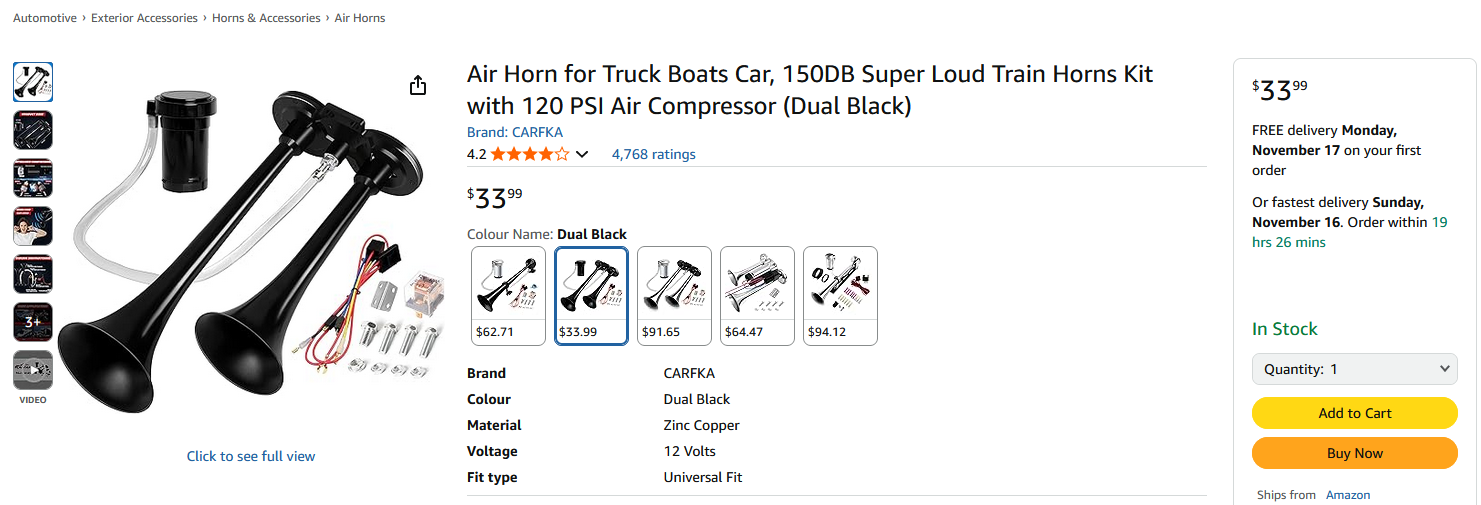
After recieving the horn in the mail, I set up a quick test bench to see how loud it is. I also checked the current draw to choose which value fuse to use.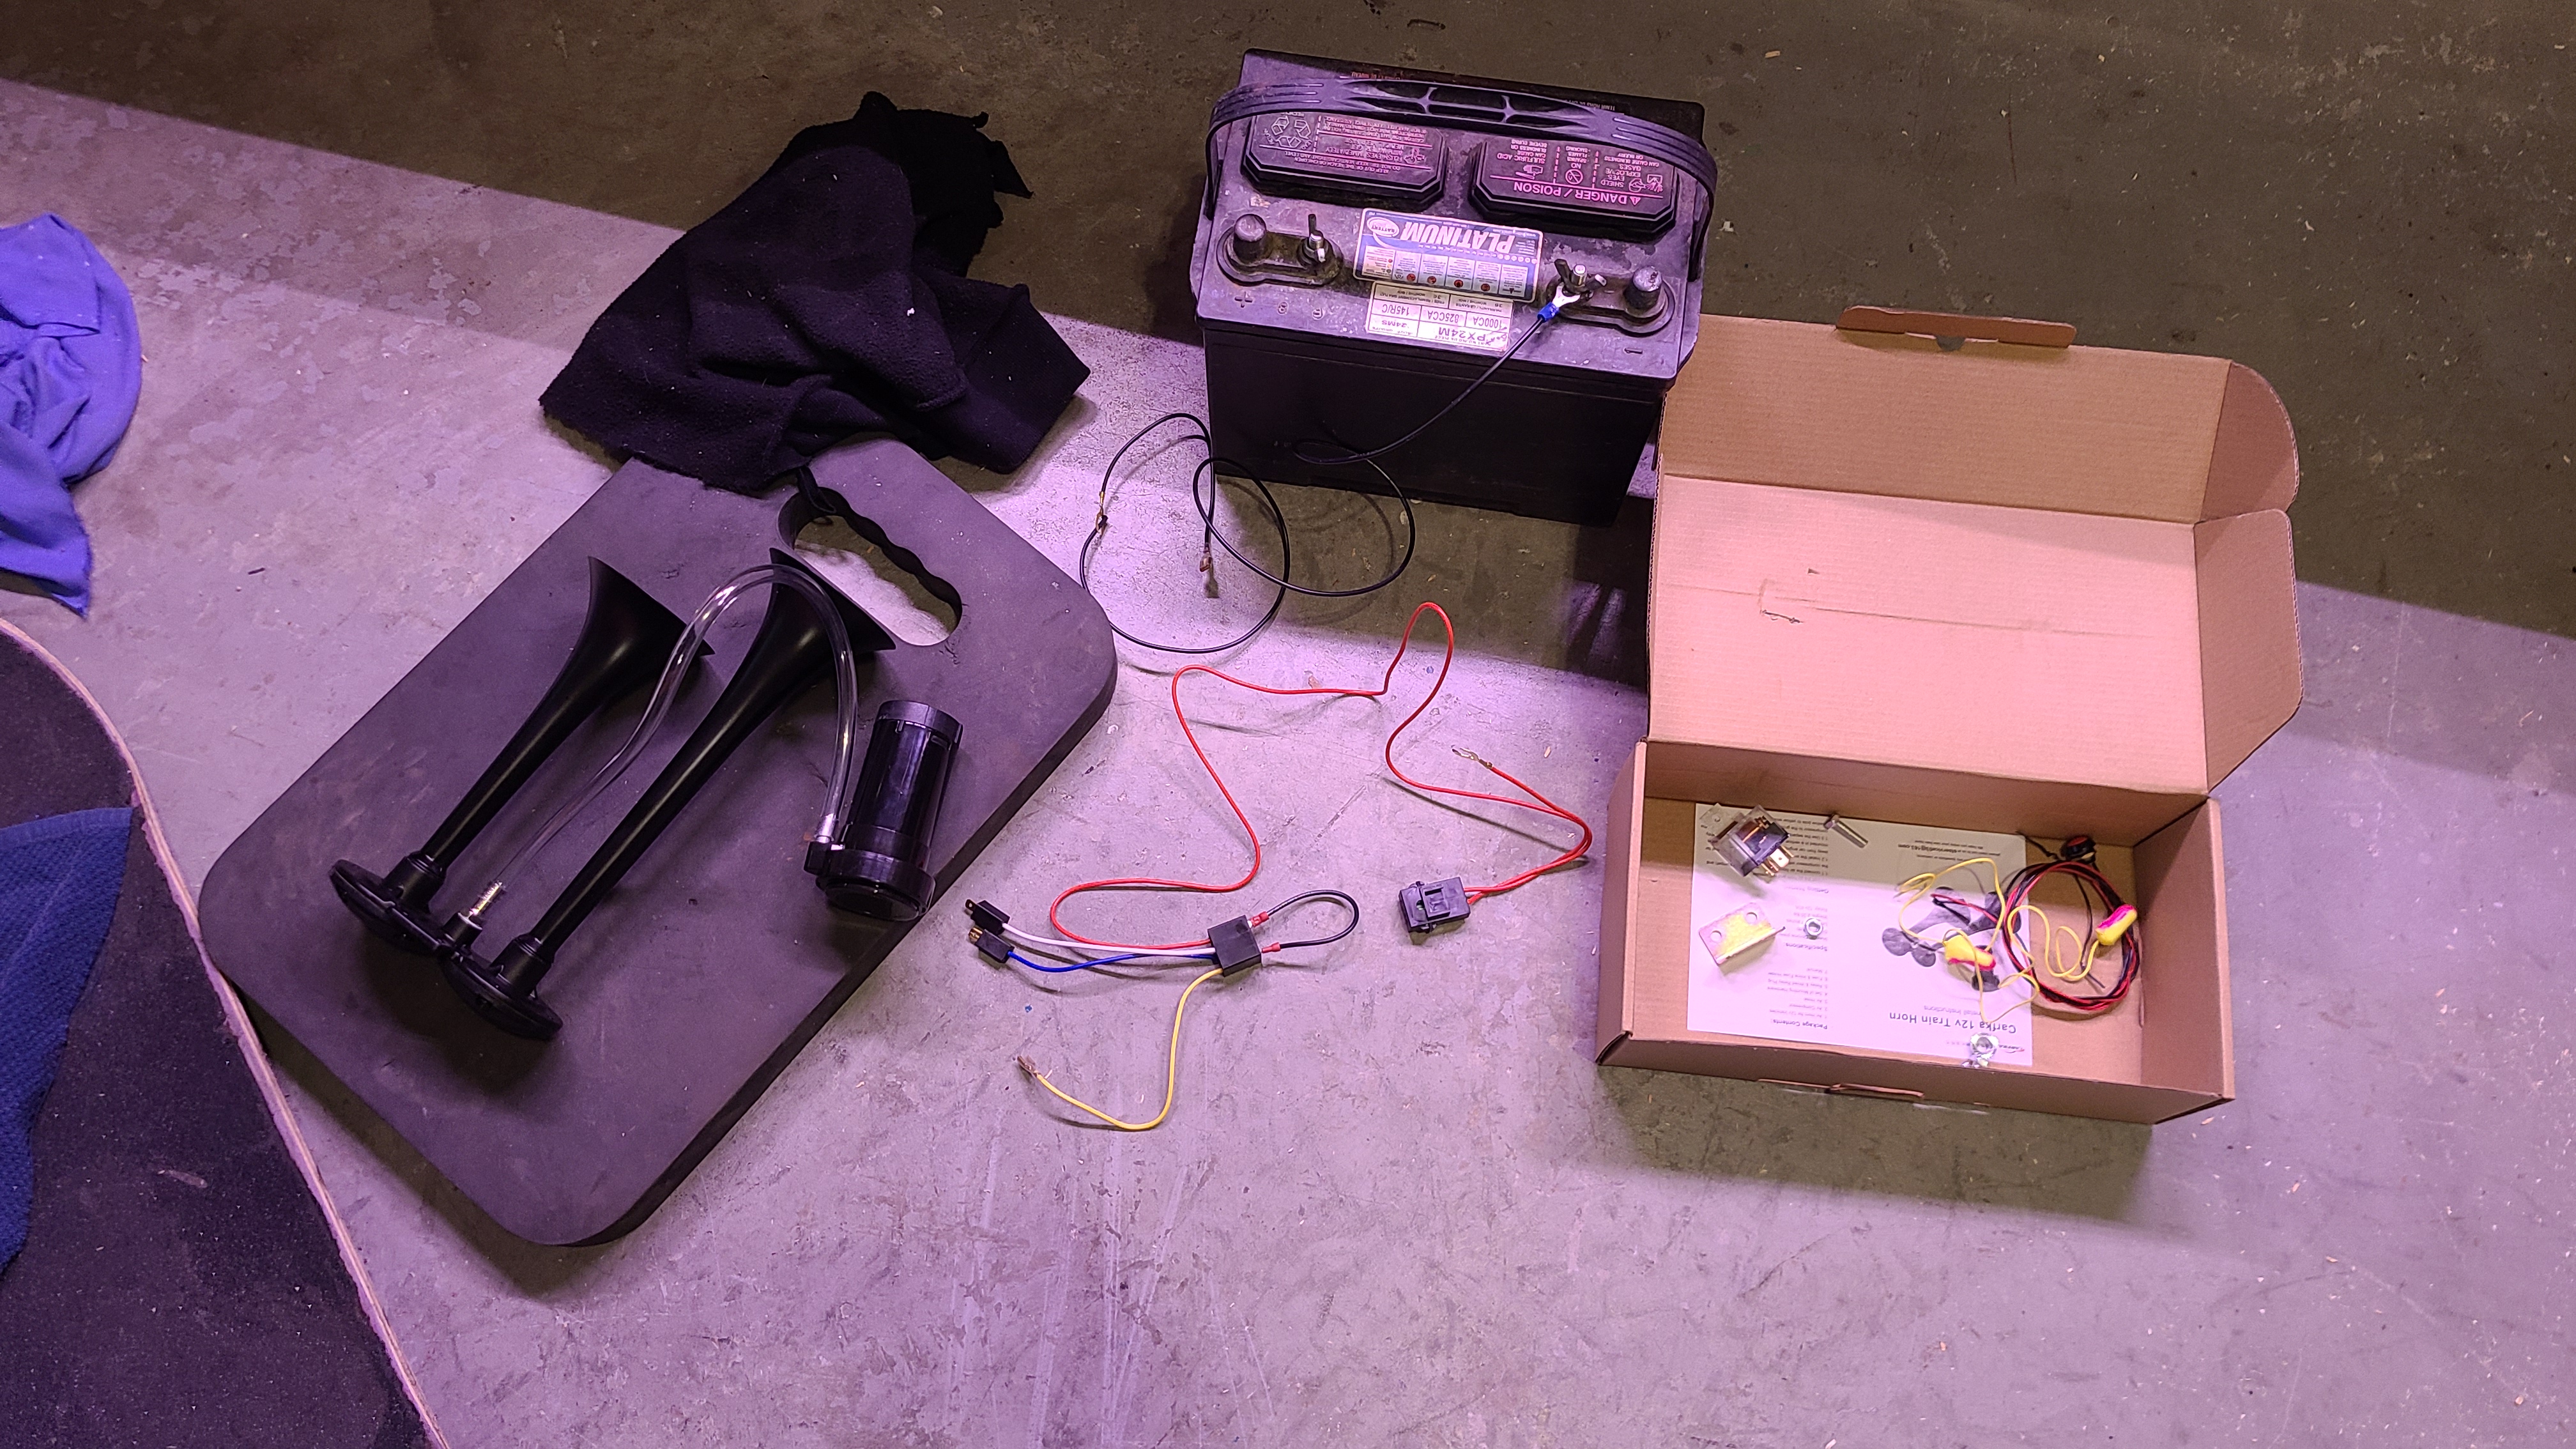
Lots of fun. It was drawing a peak of 17 A, so I chose to use a 25 A fuse. The horn itself came with a 30 A fuse.
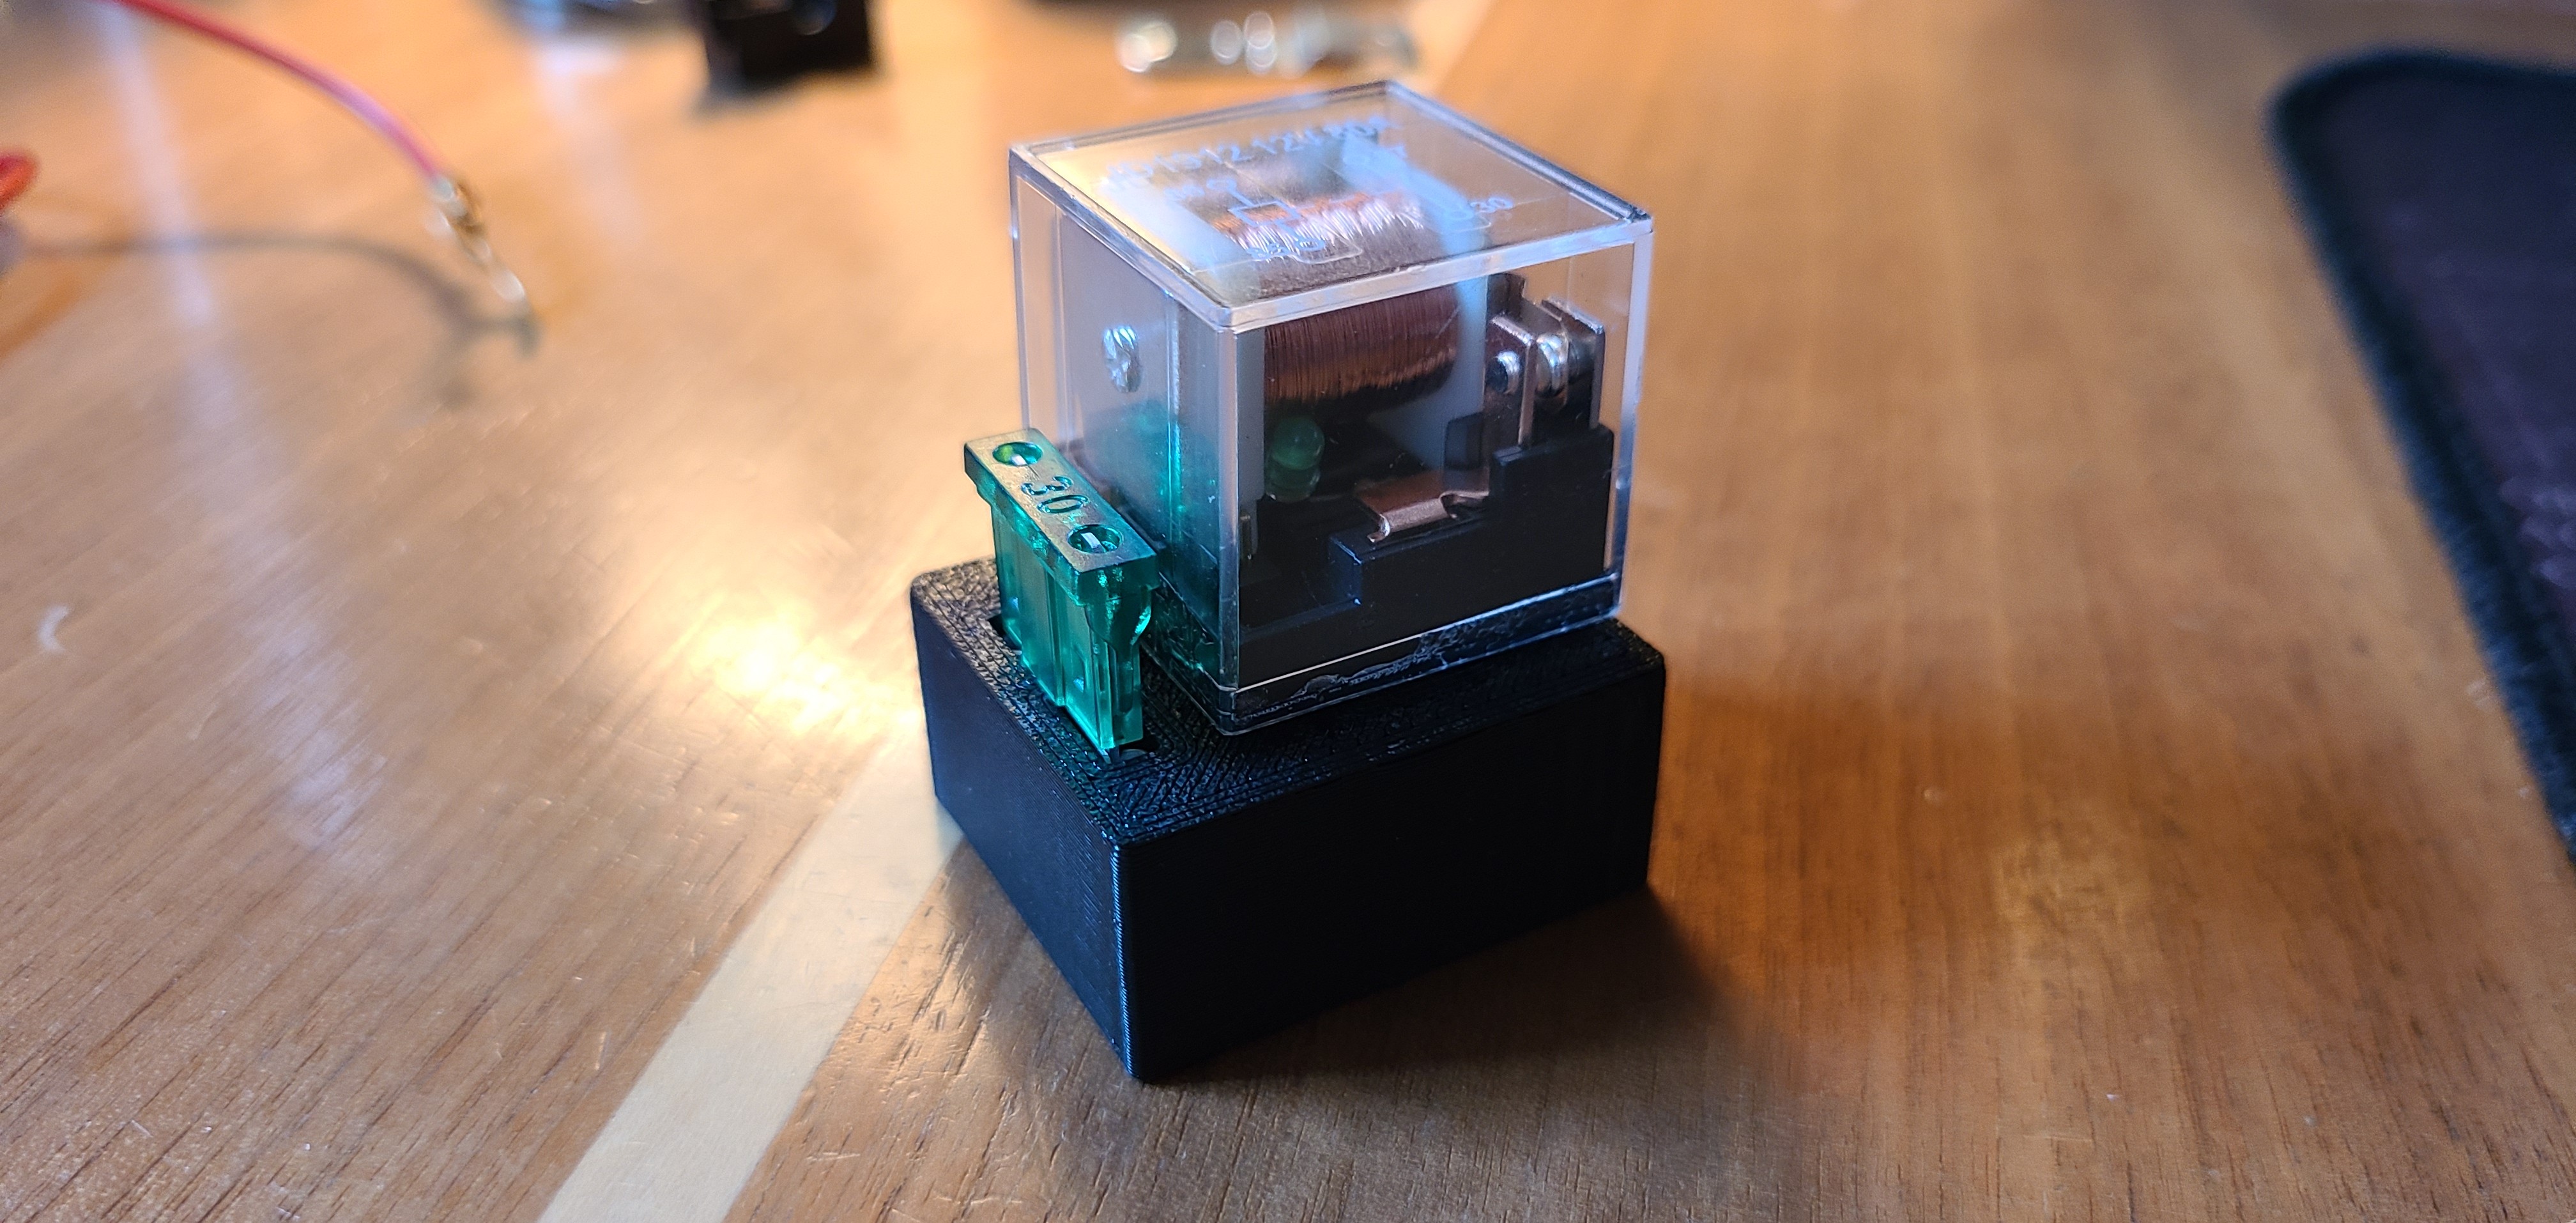
Fuse and Relay
I wanted to wire the fuse and auxillary horn relay in my engine bay relay/fuse box, so I 3D printed a fuse and relay holder that slotted nicely into the fusebox.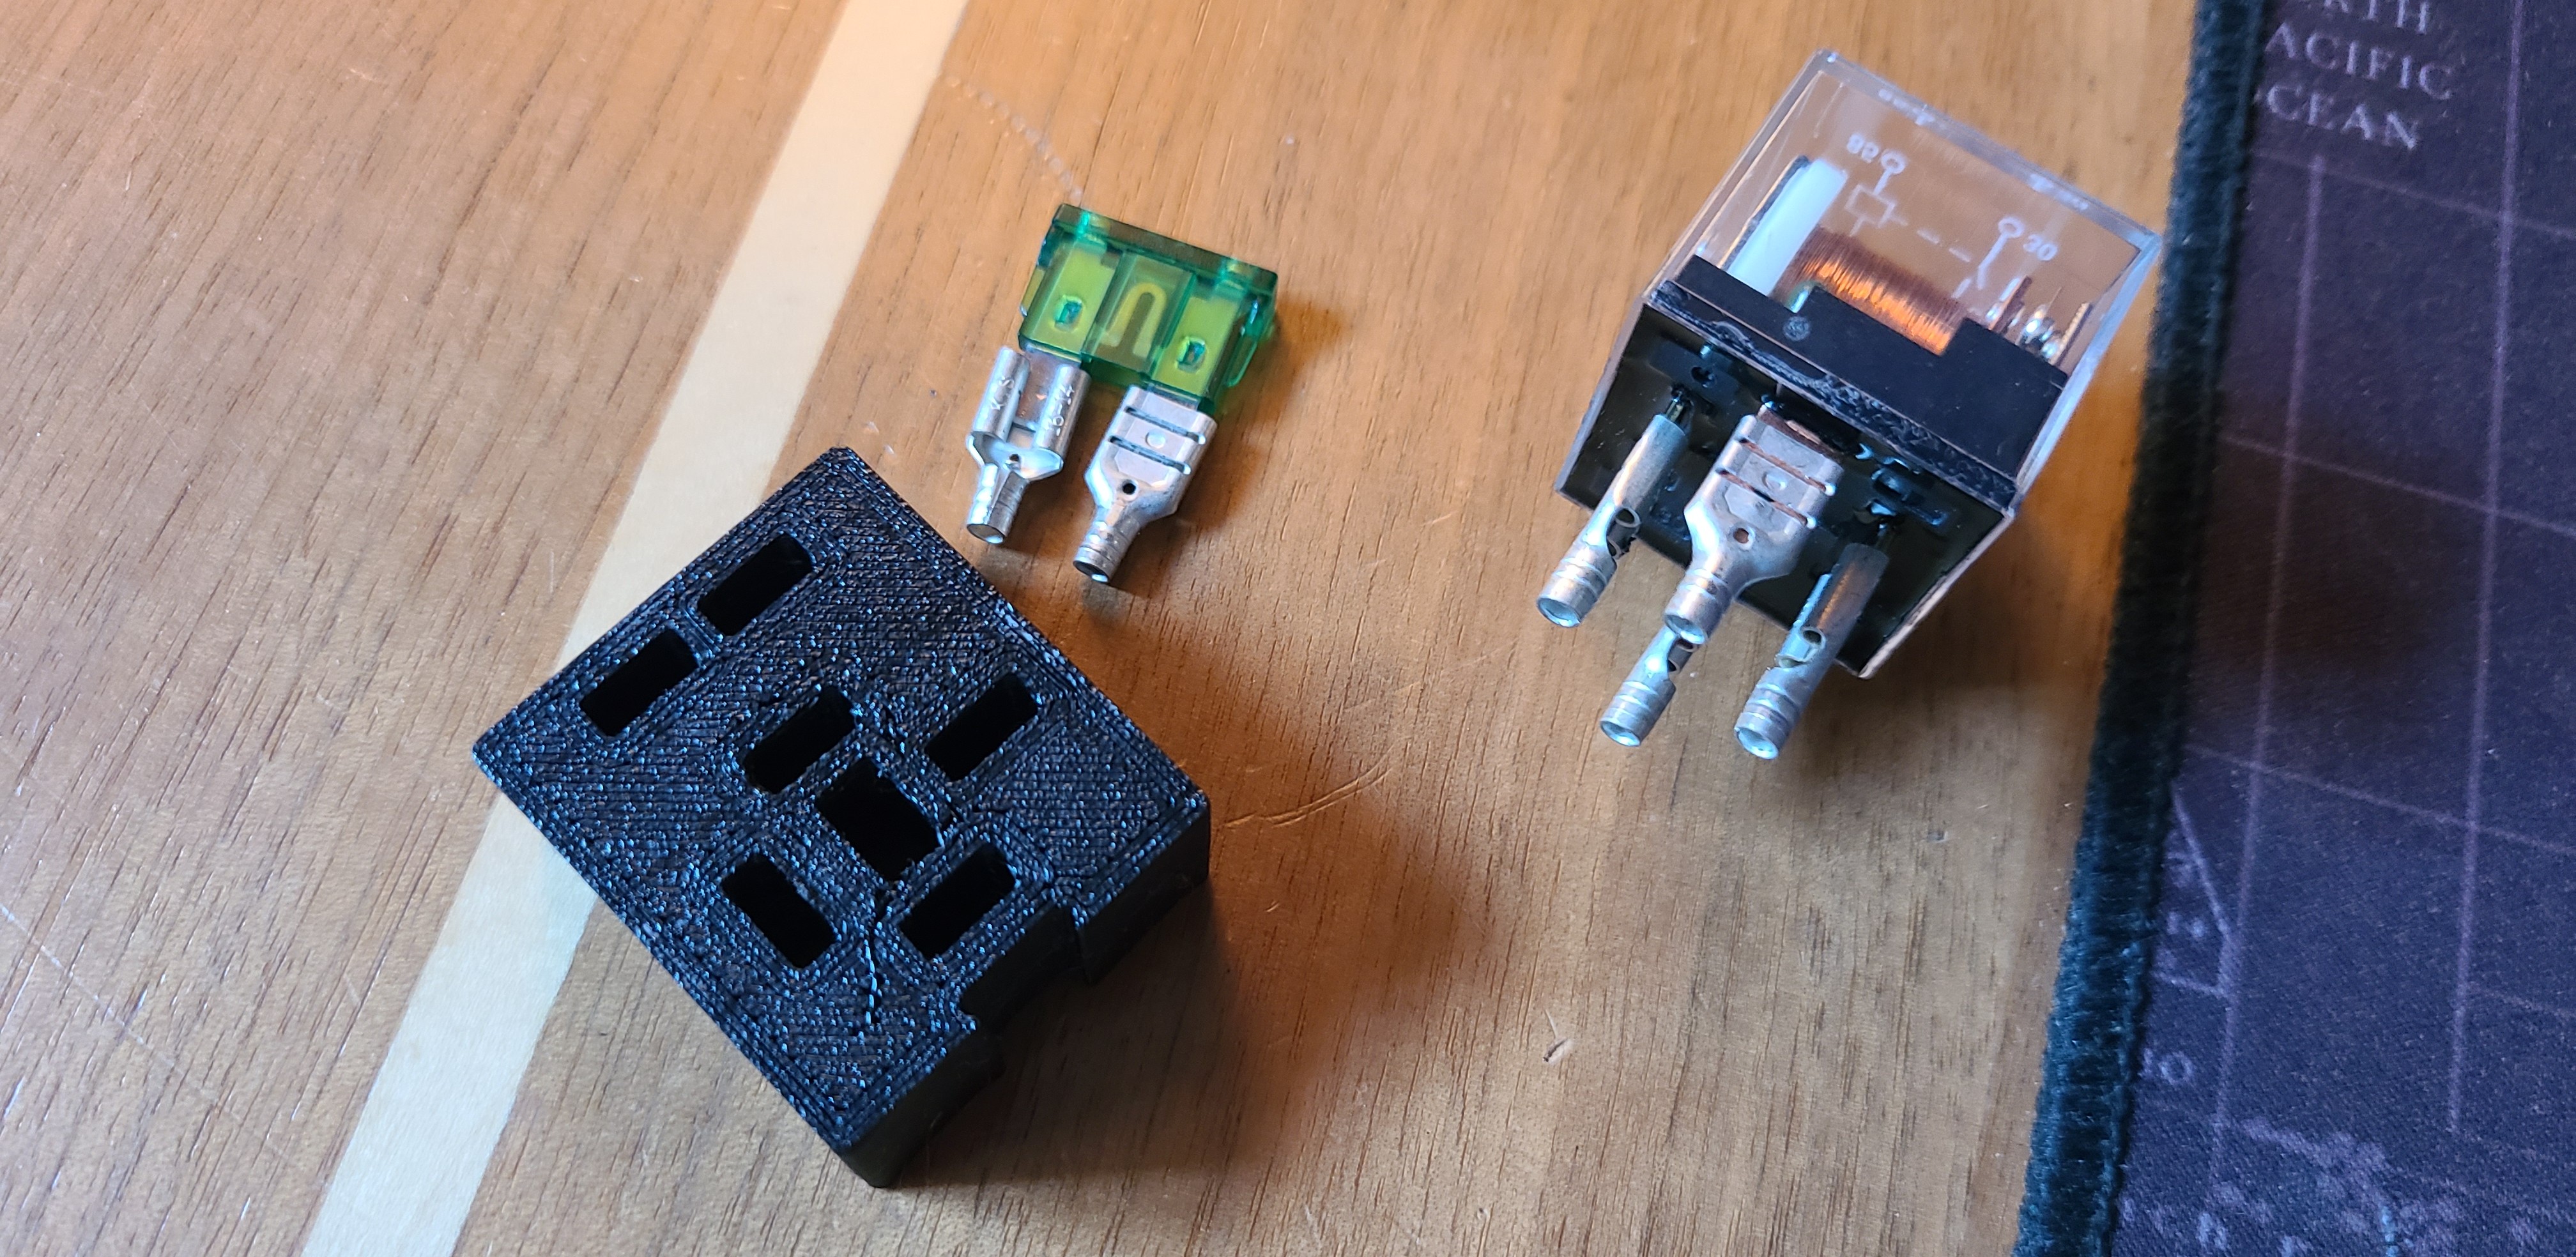
Horn Installation
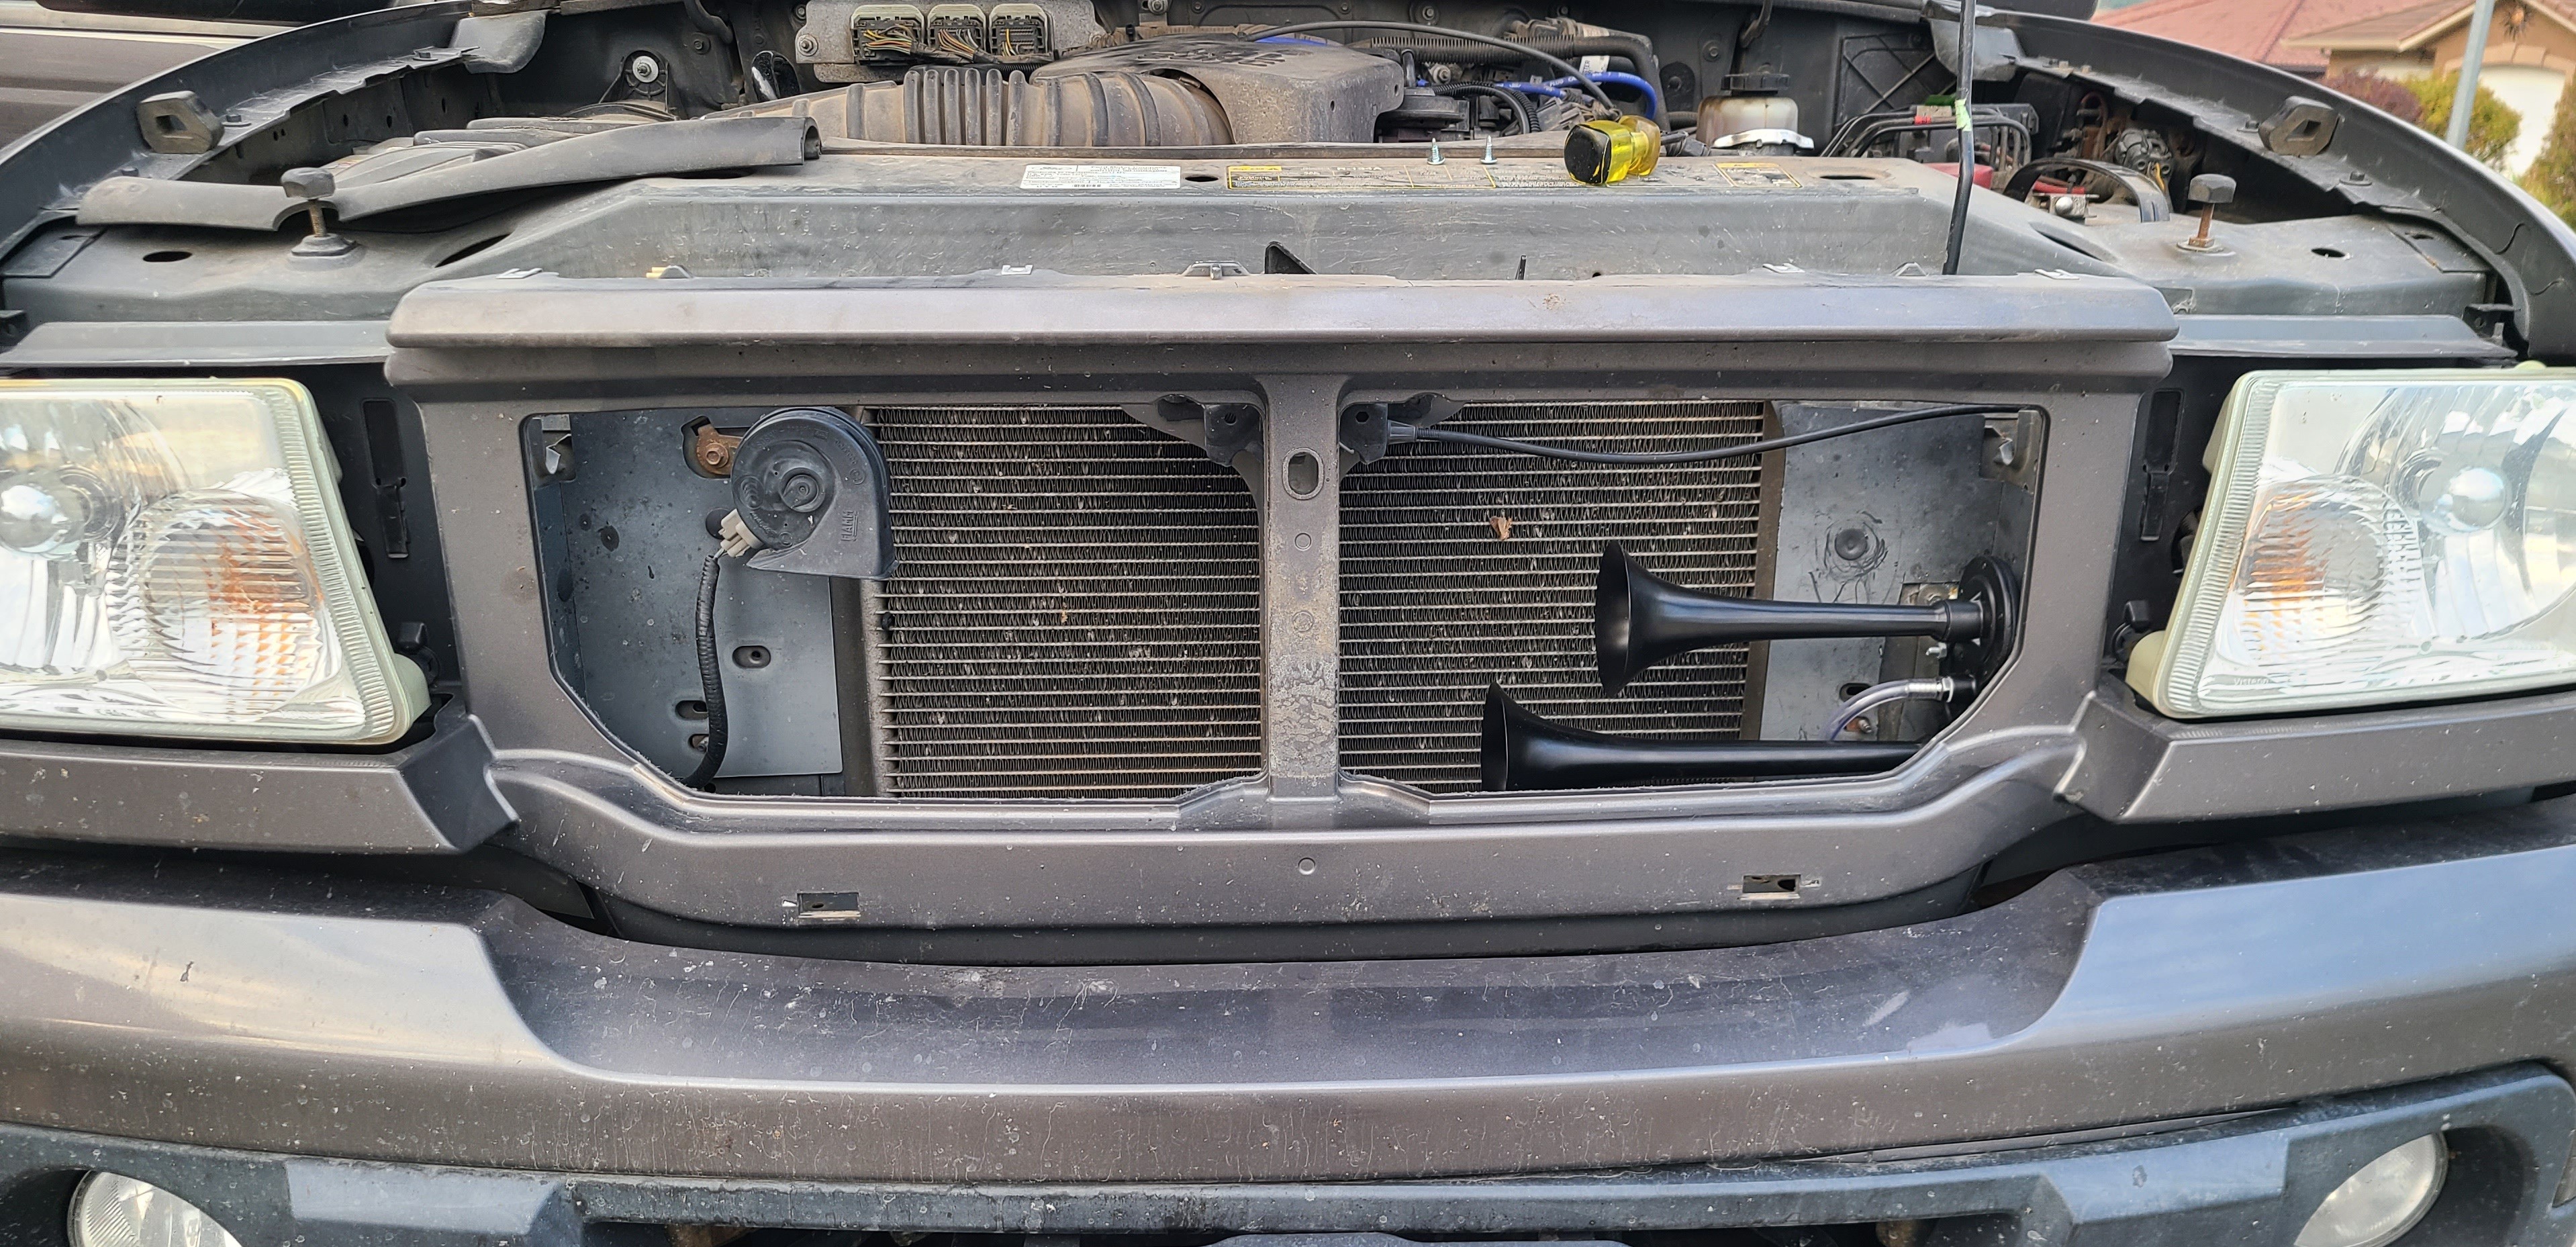
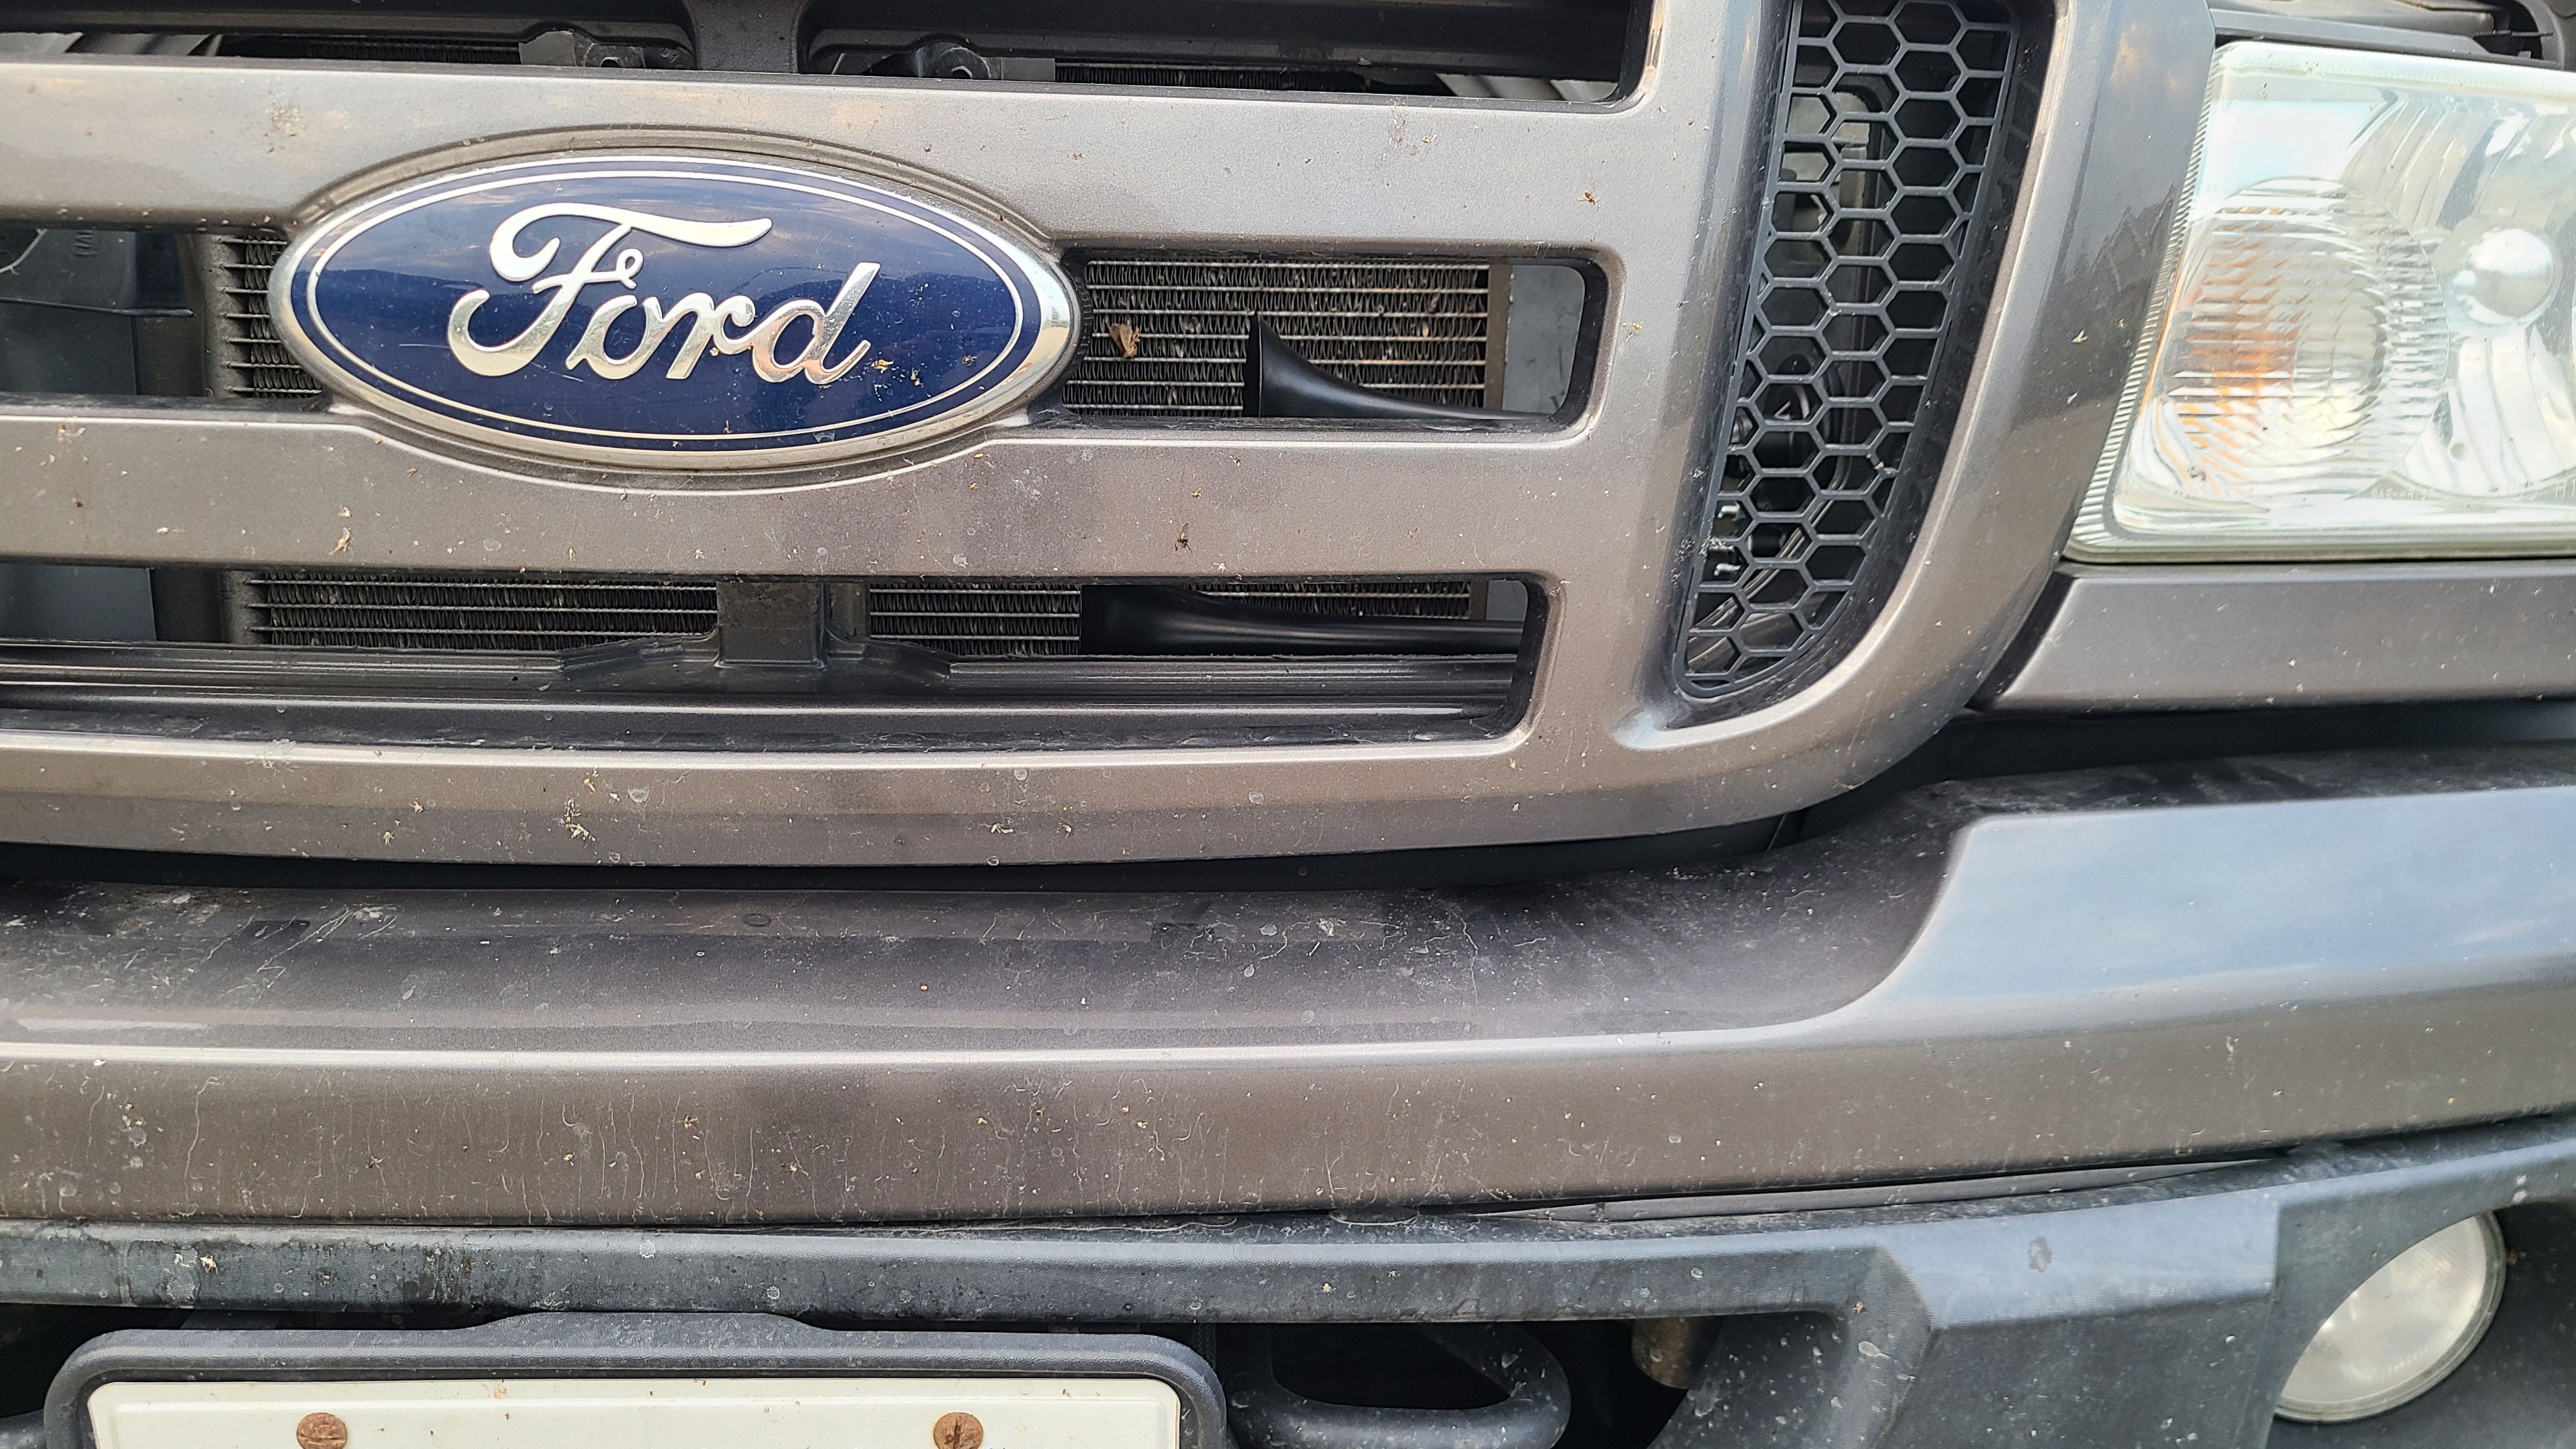
I installed the horn right in front of my radiator as I had a good spot to mount a DIY bracket. The horn bracket was made by cutting a scrap steel bracket I had lying around. The compressor was routed in beside the battery and was bolted to the frame.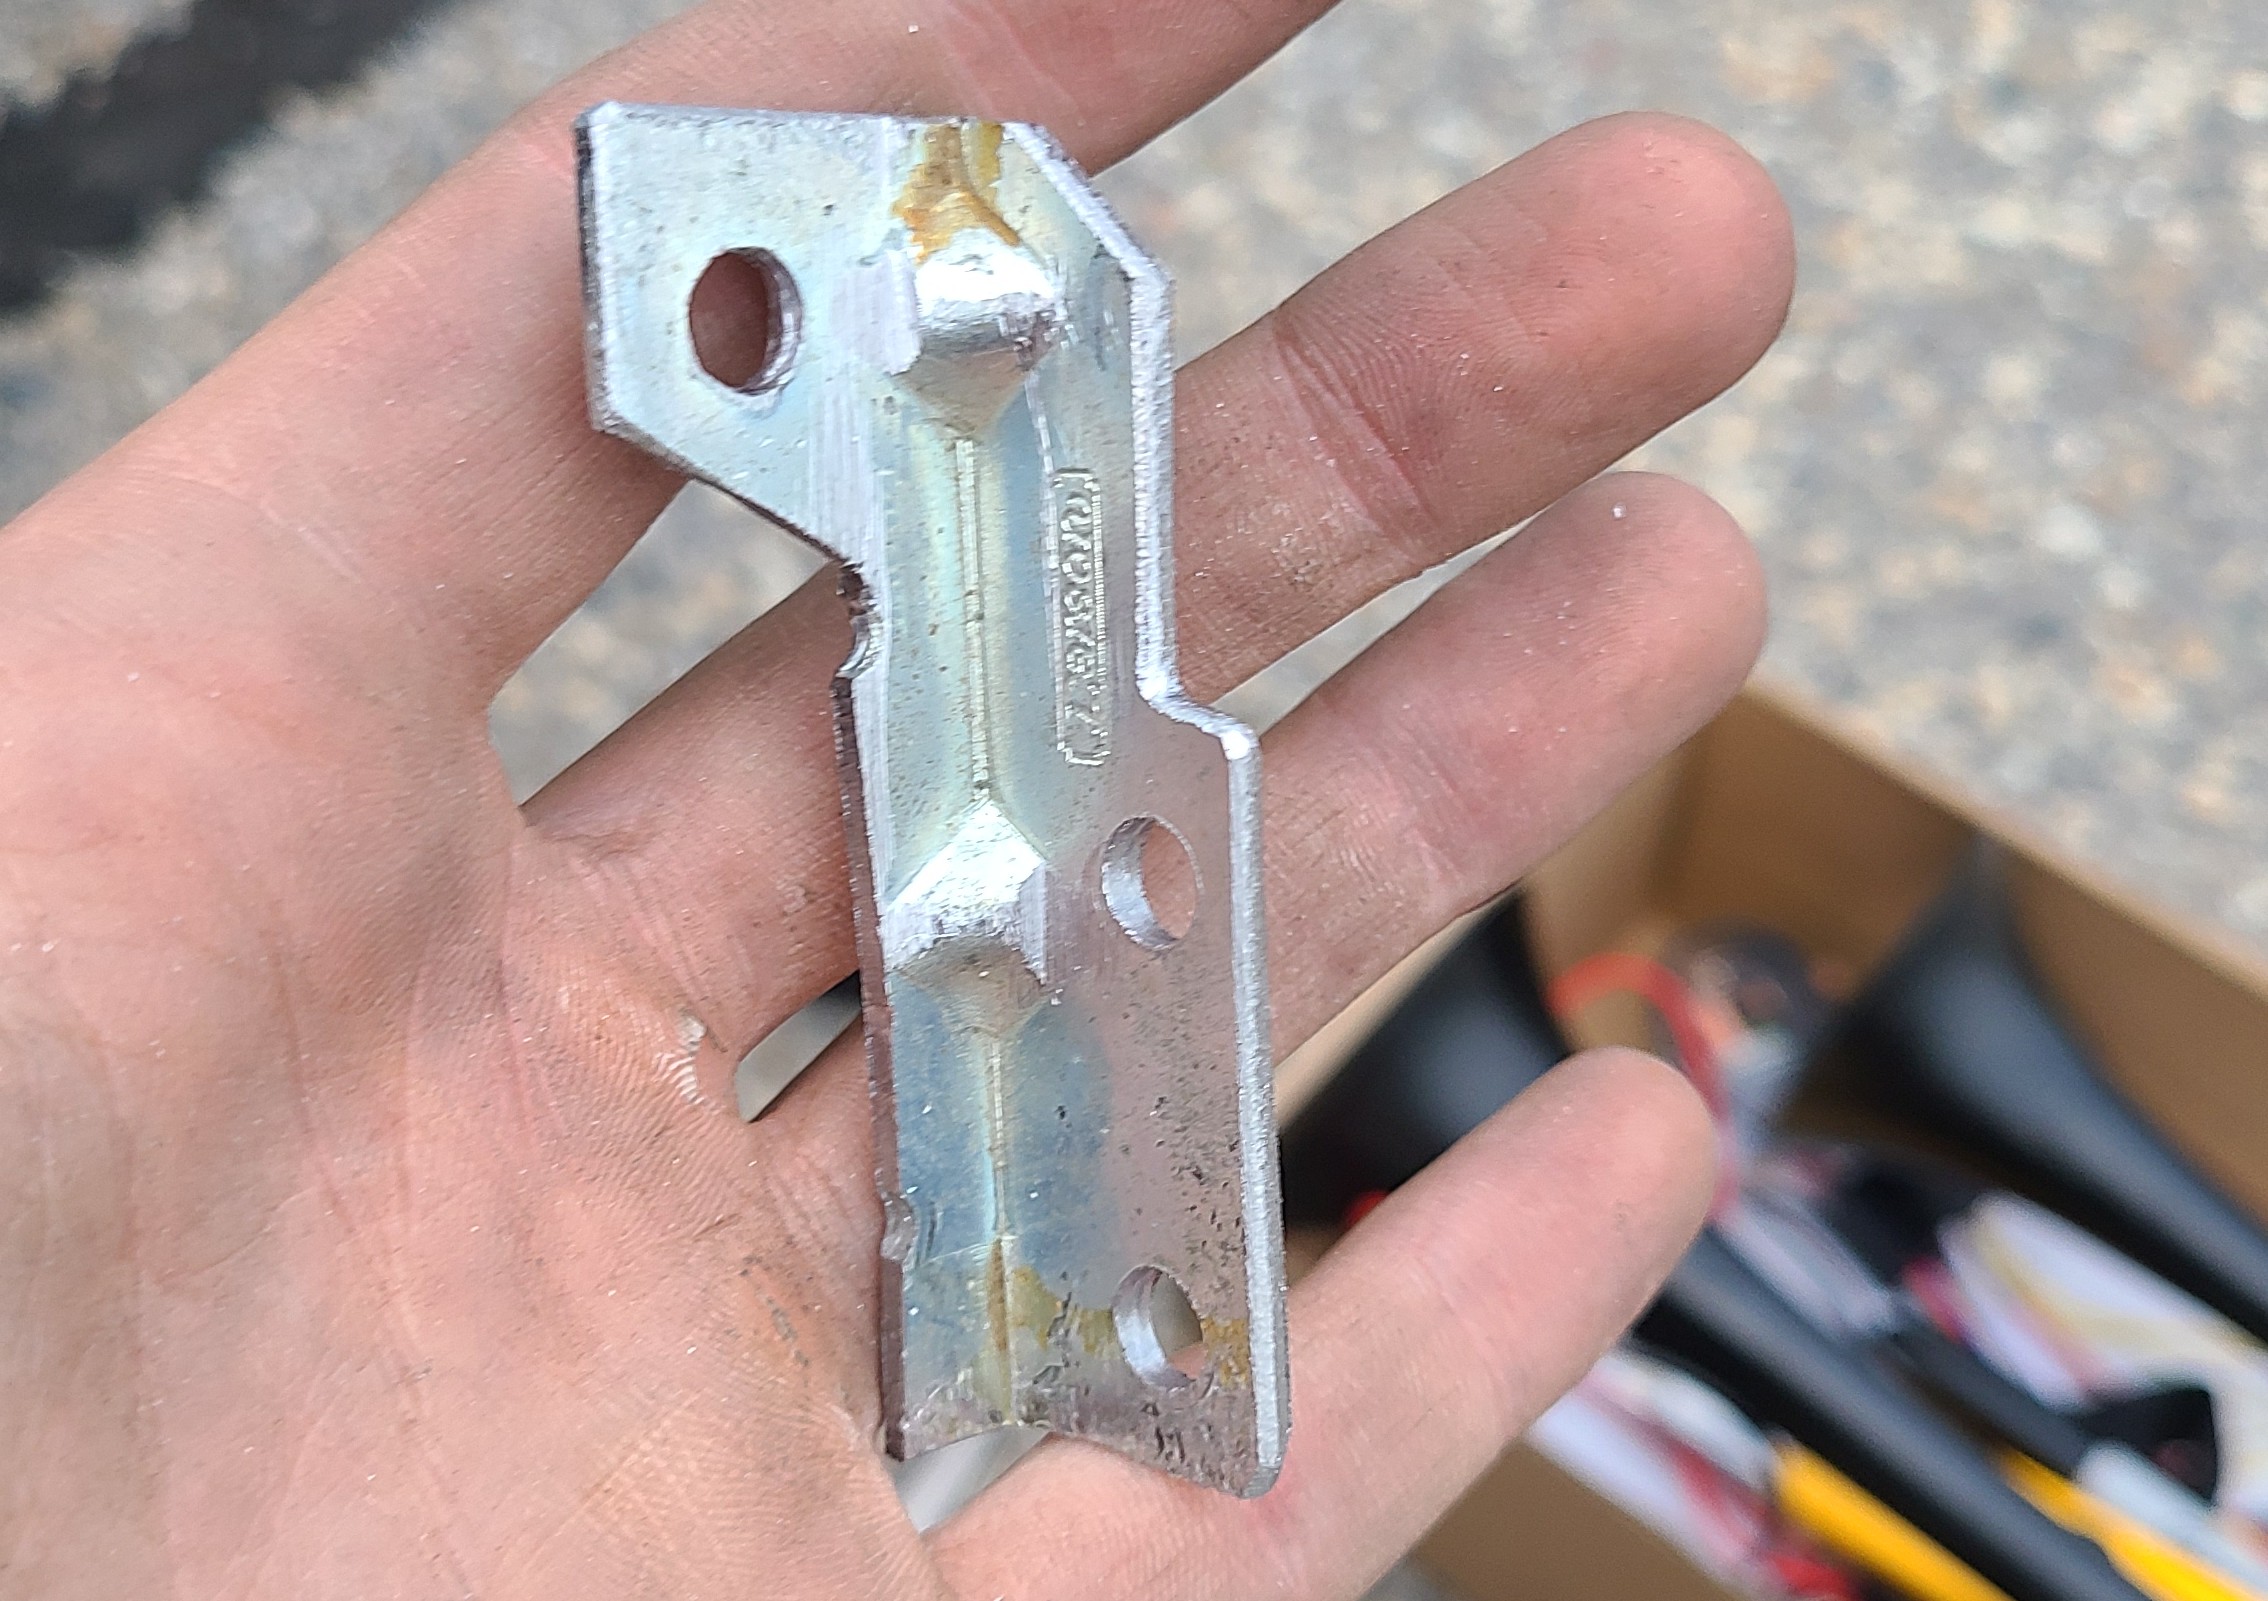
Auxillary Horn Button
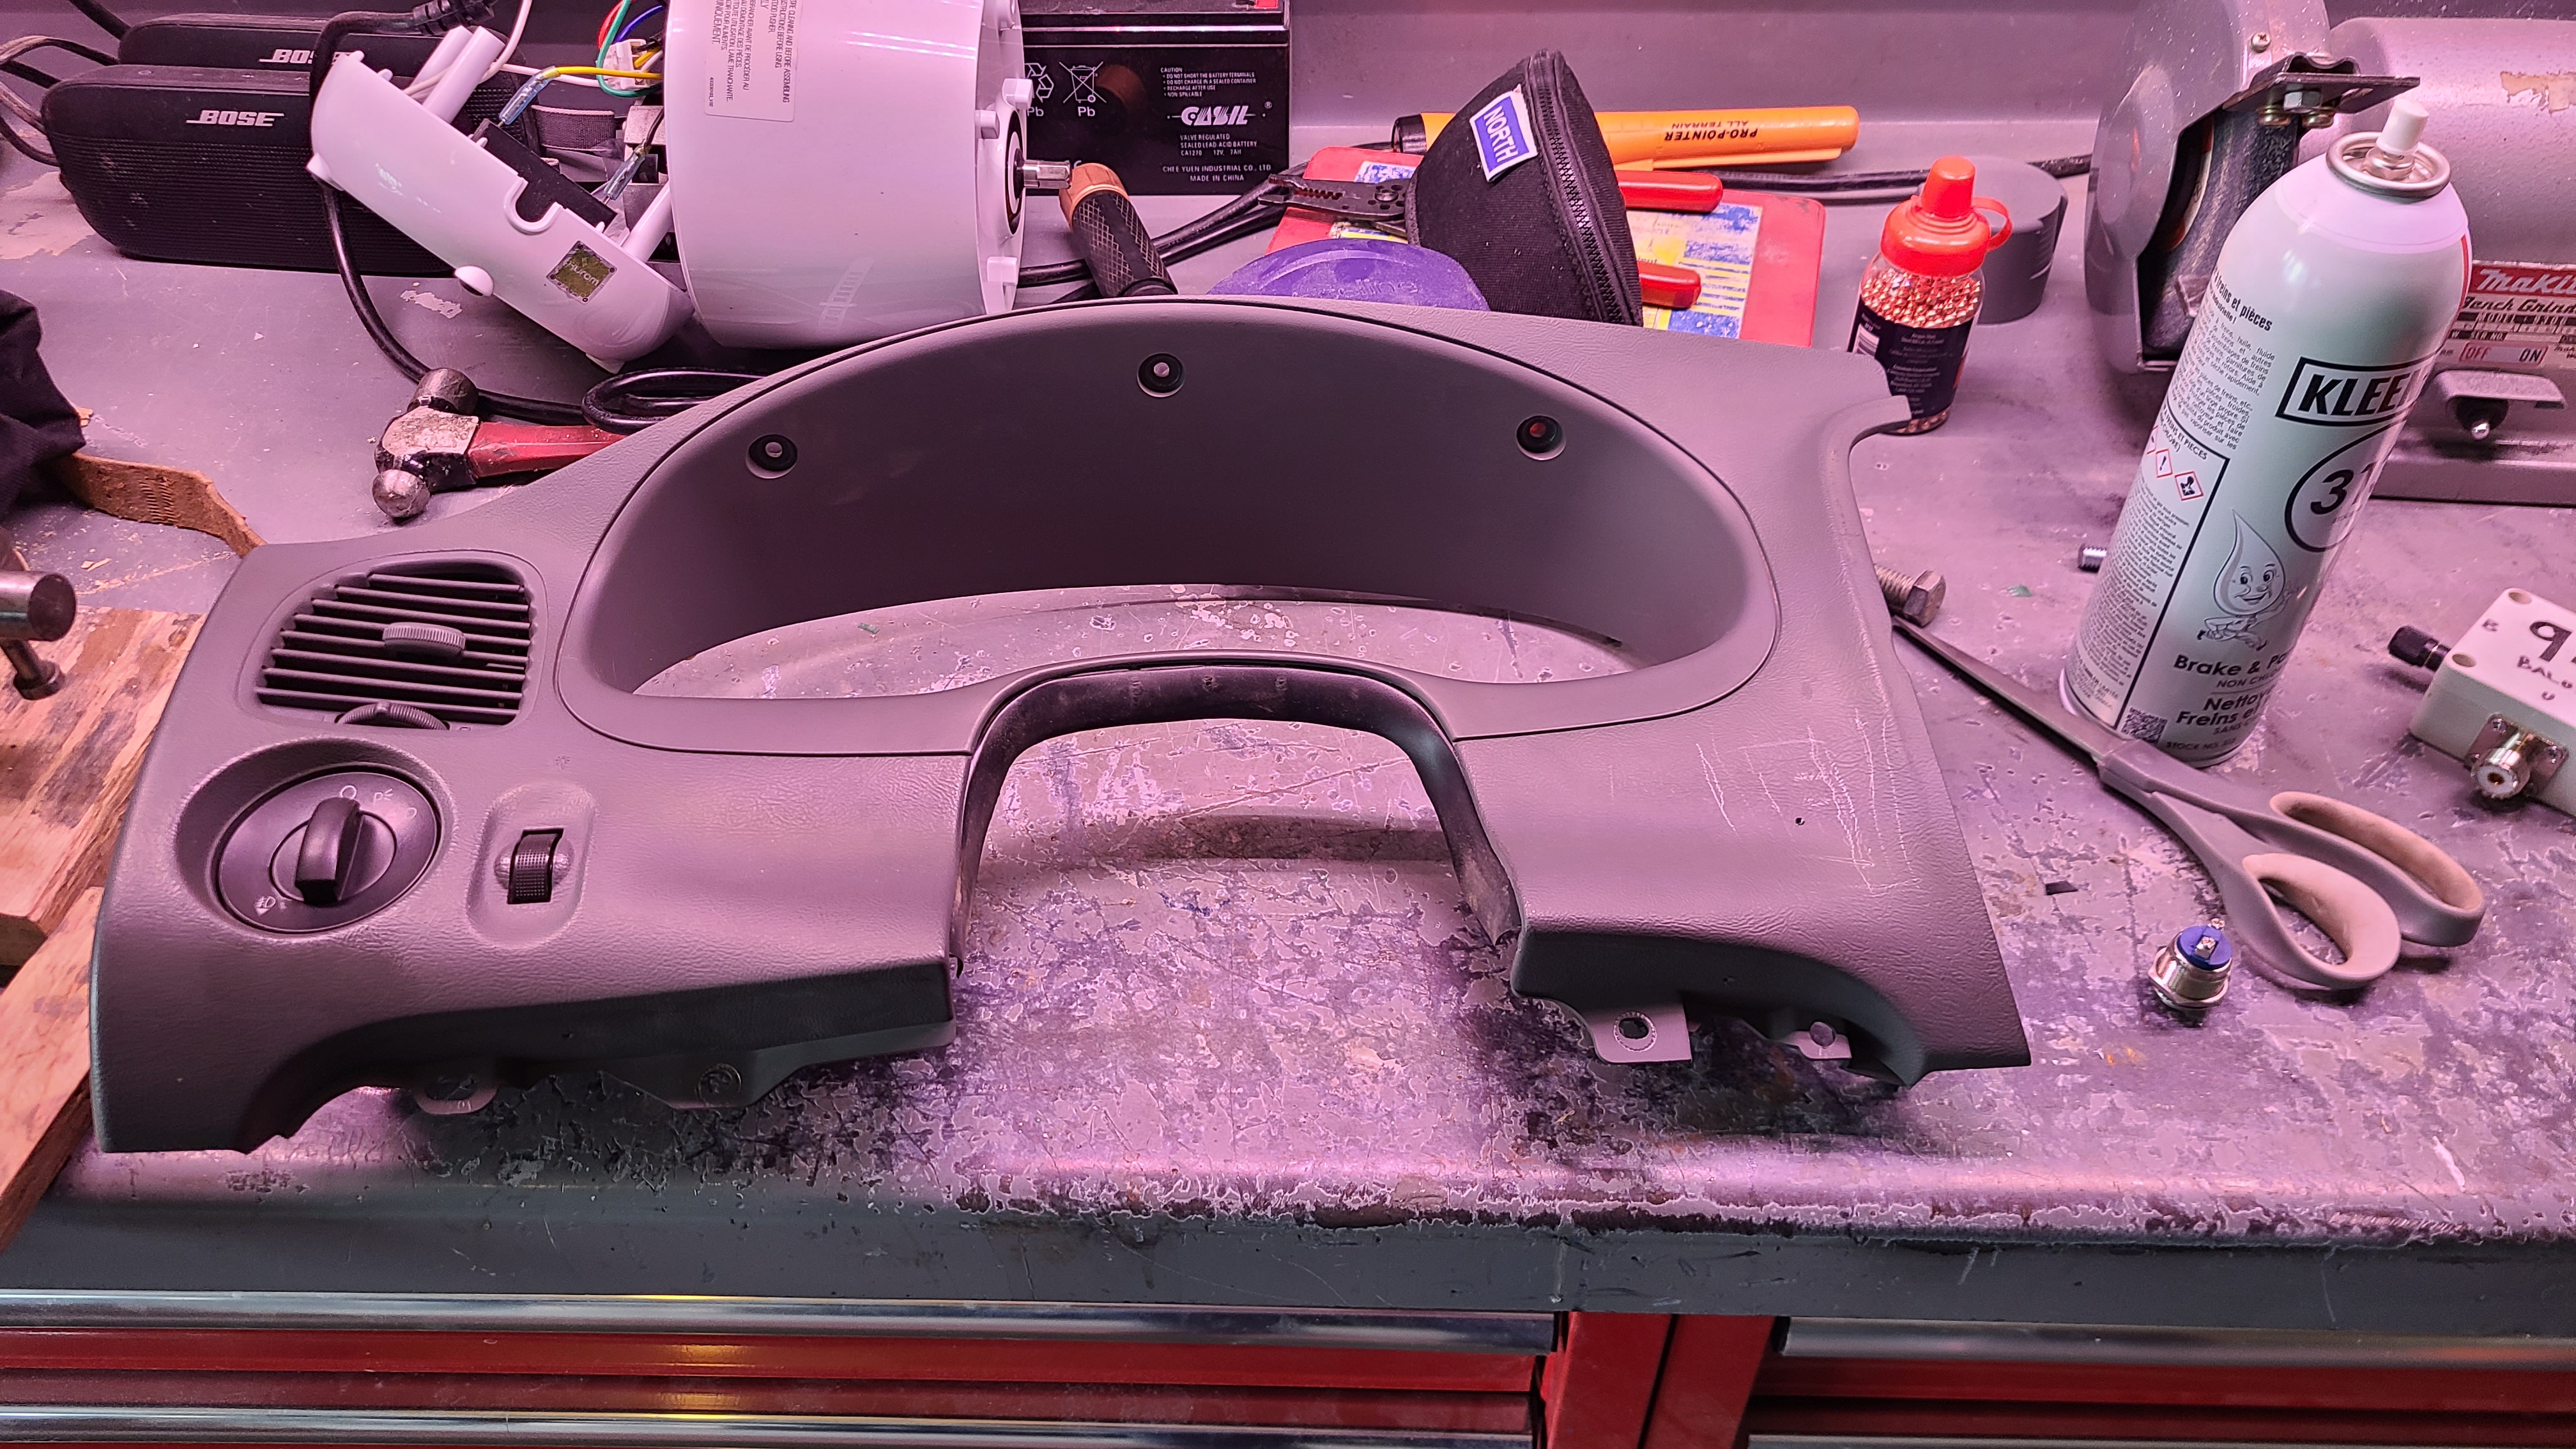
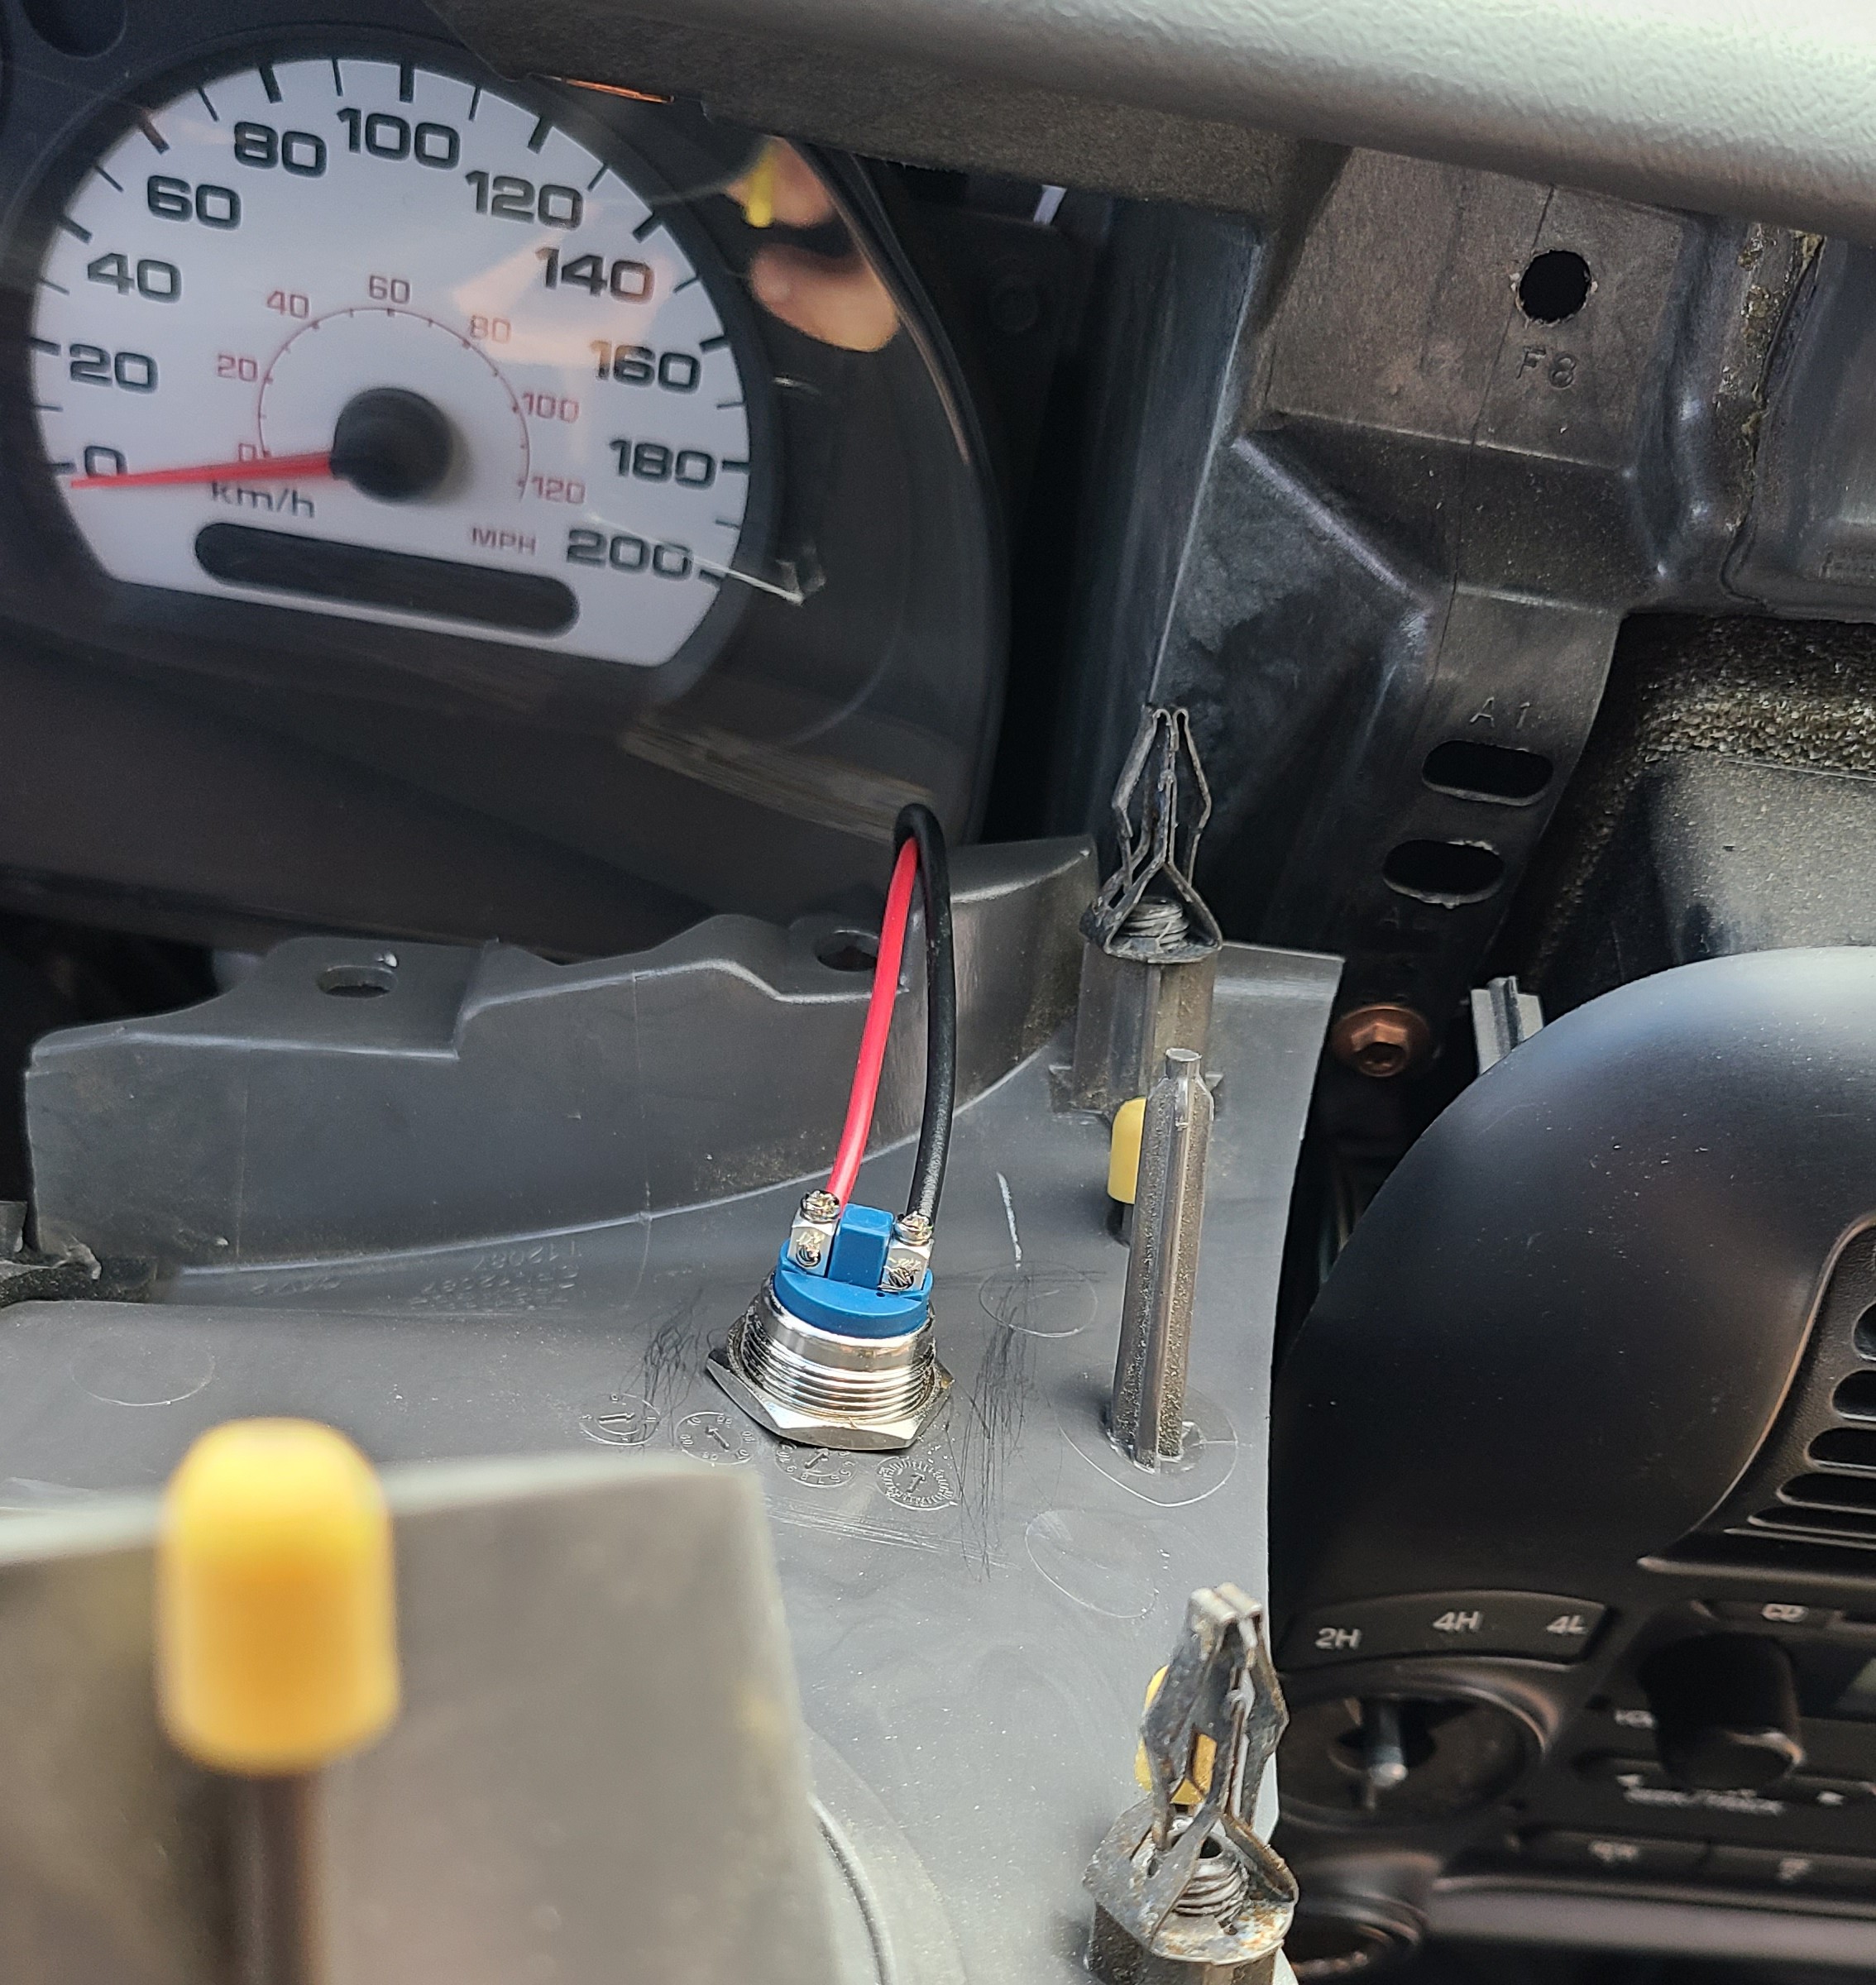
Another step of the process was finding a place to install the button and installing it. This step was one of the most invasive steps as I had to dismantle my entire drivers-side portion of my dashboard.
Once dismantled, I found a spot that the button would fit and drilled a hole for it. Then I routed the wires from the engine bay to the switch. I only routed one wire from the engine bay, as I wired the relay to have the coil connected to 12V, so when the other coil connection is connected to ground the relay will close.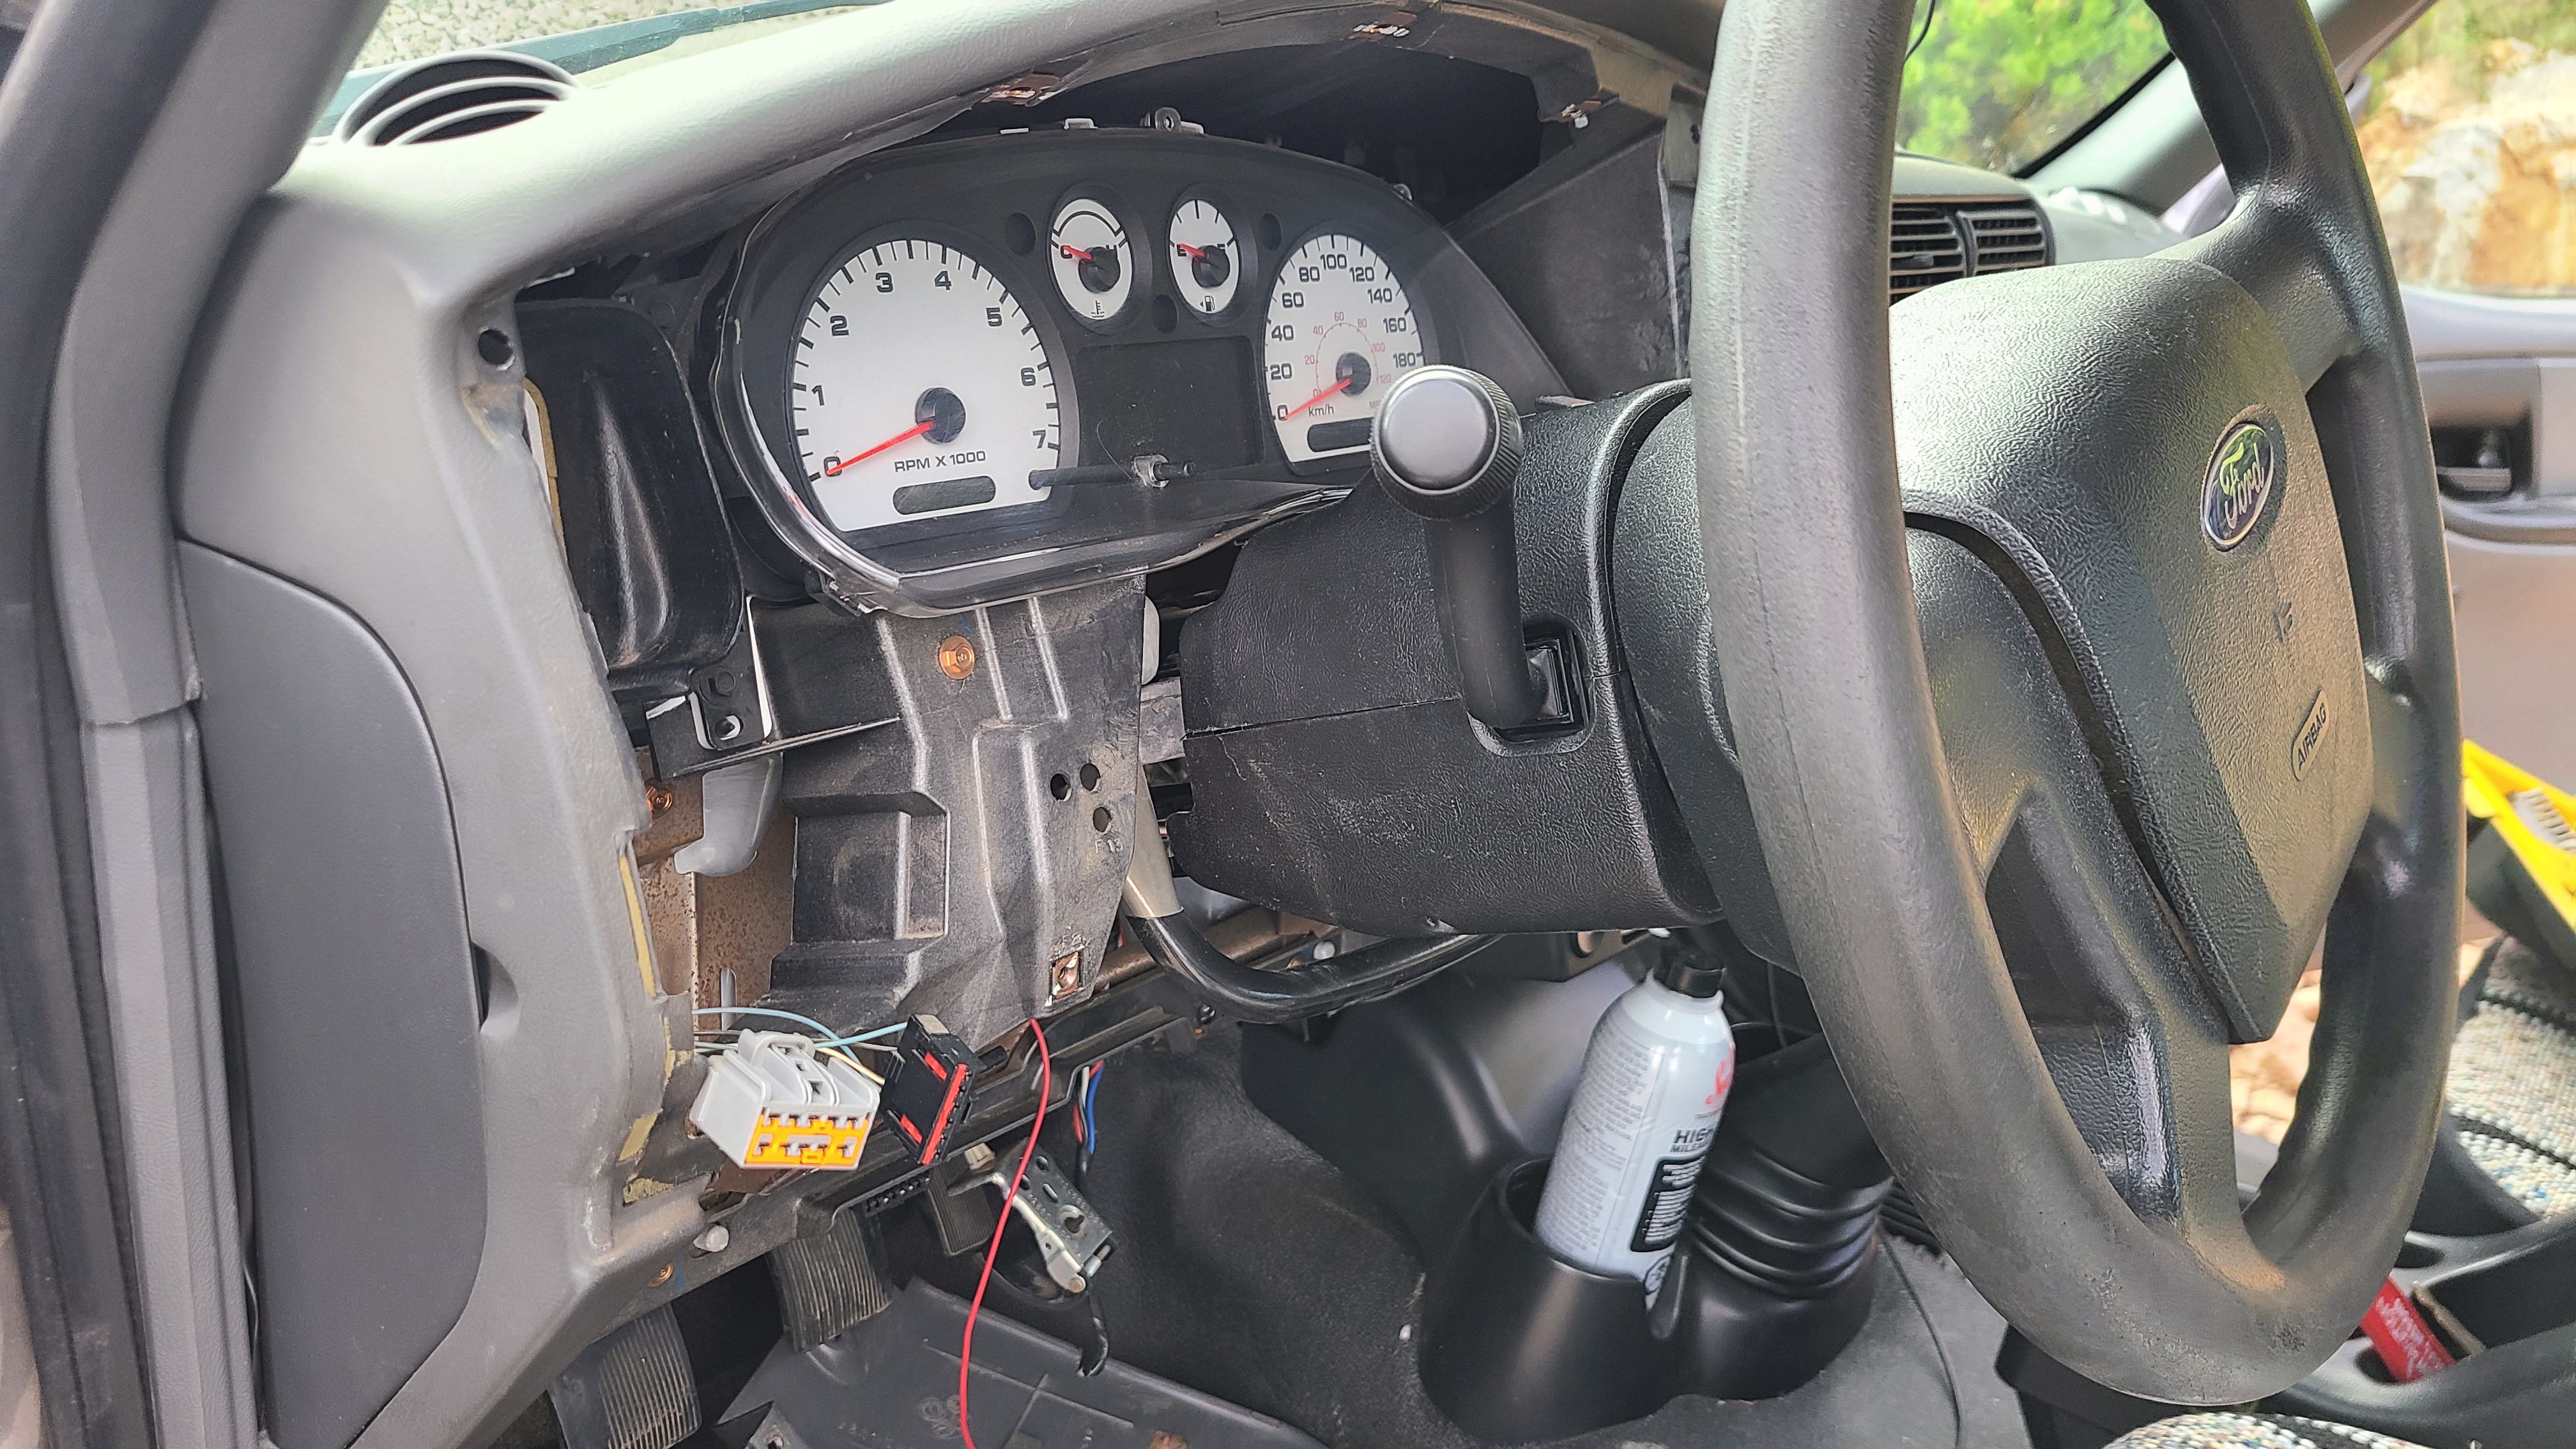
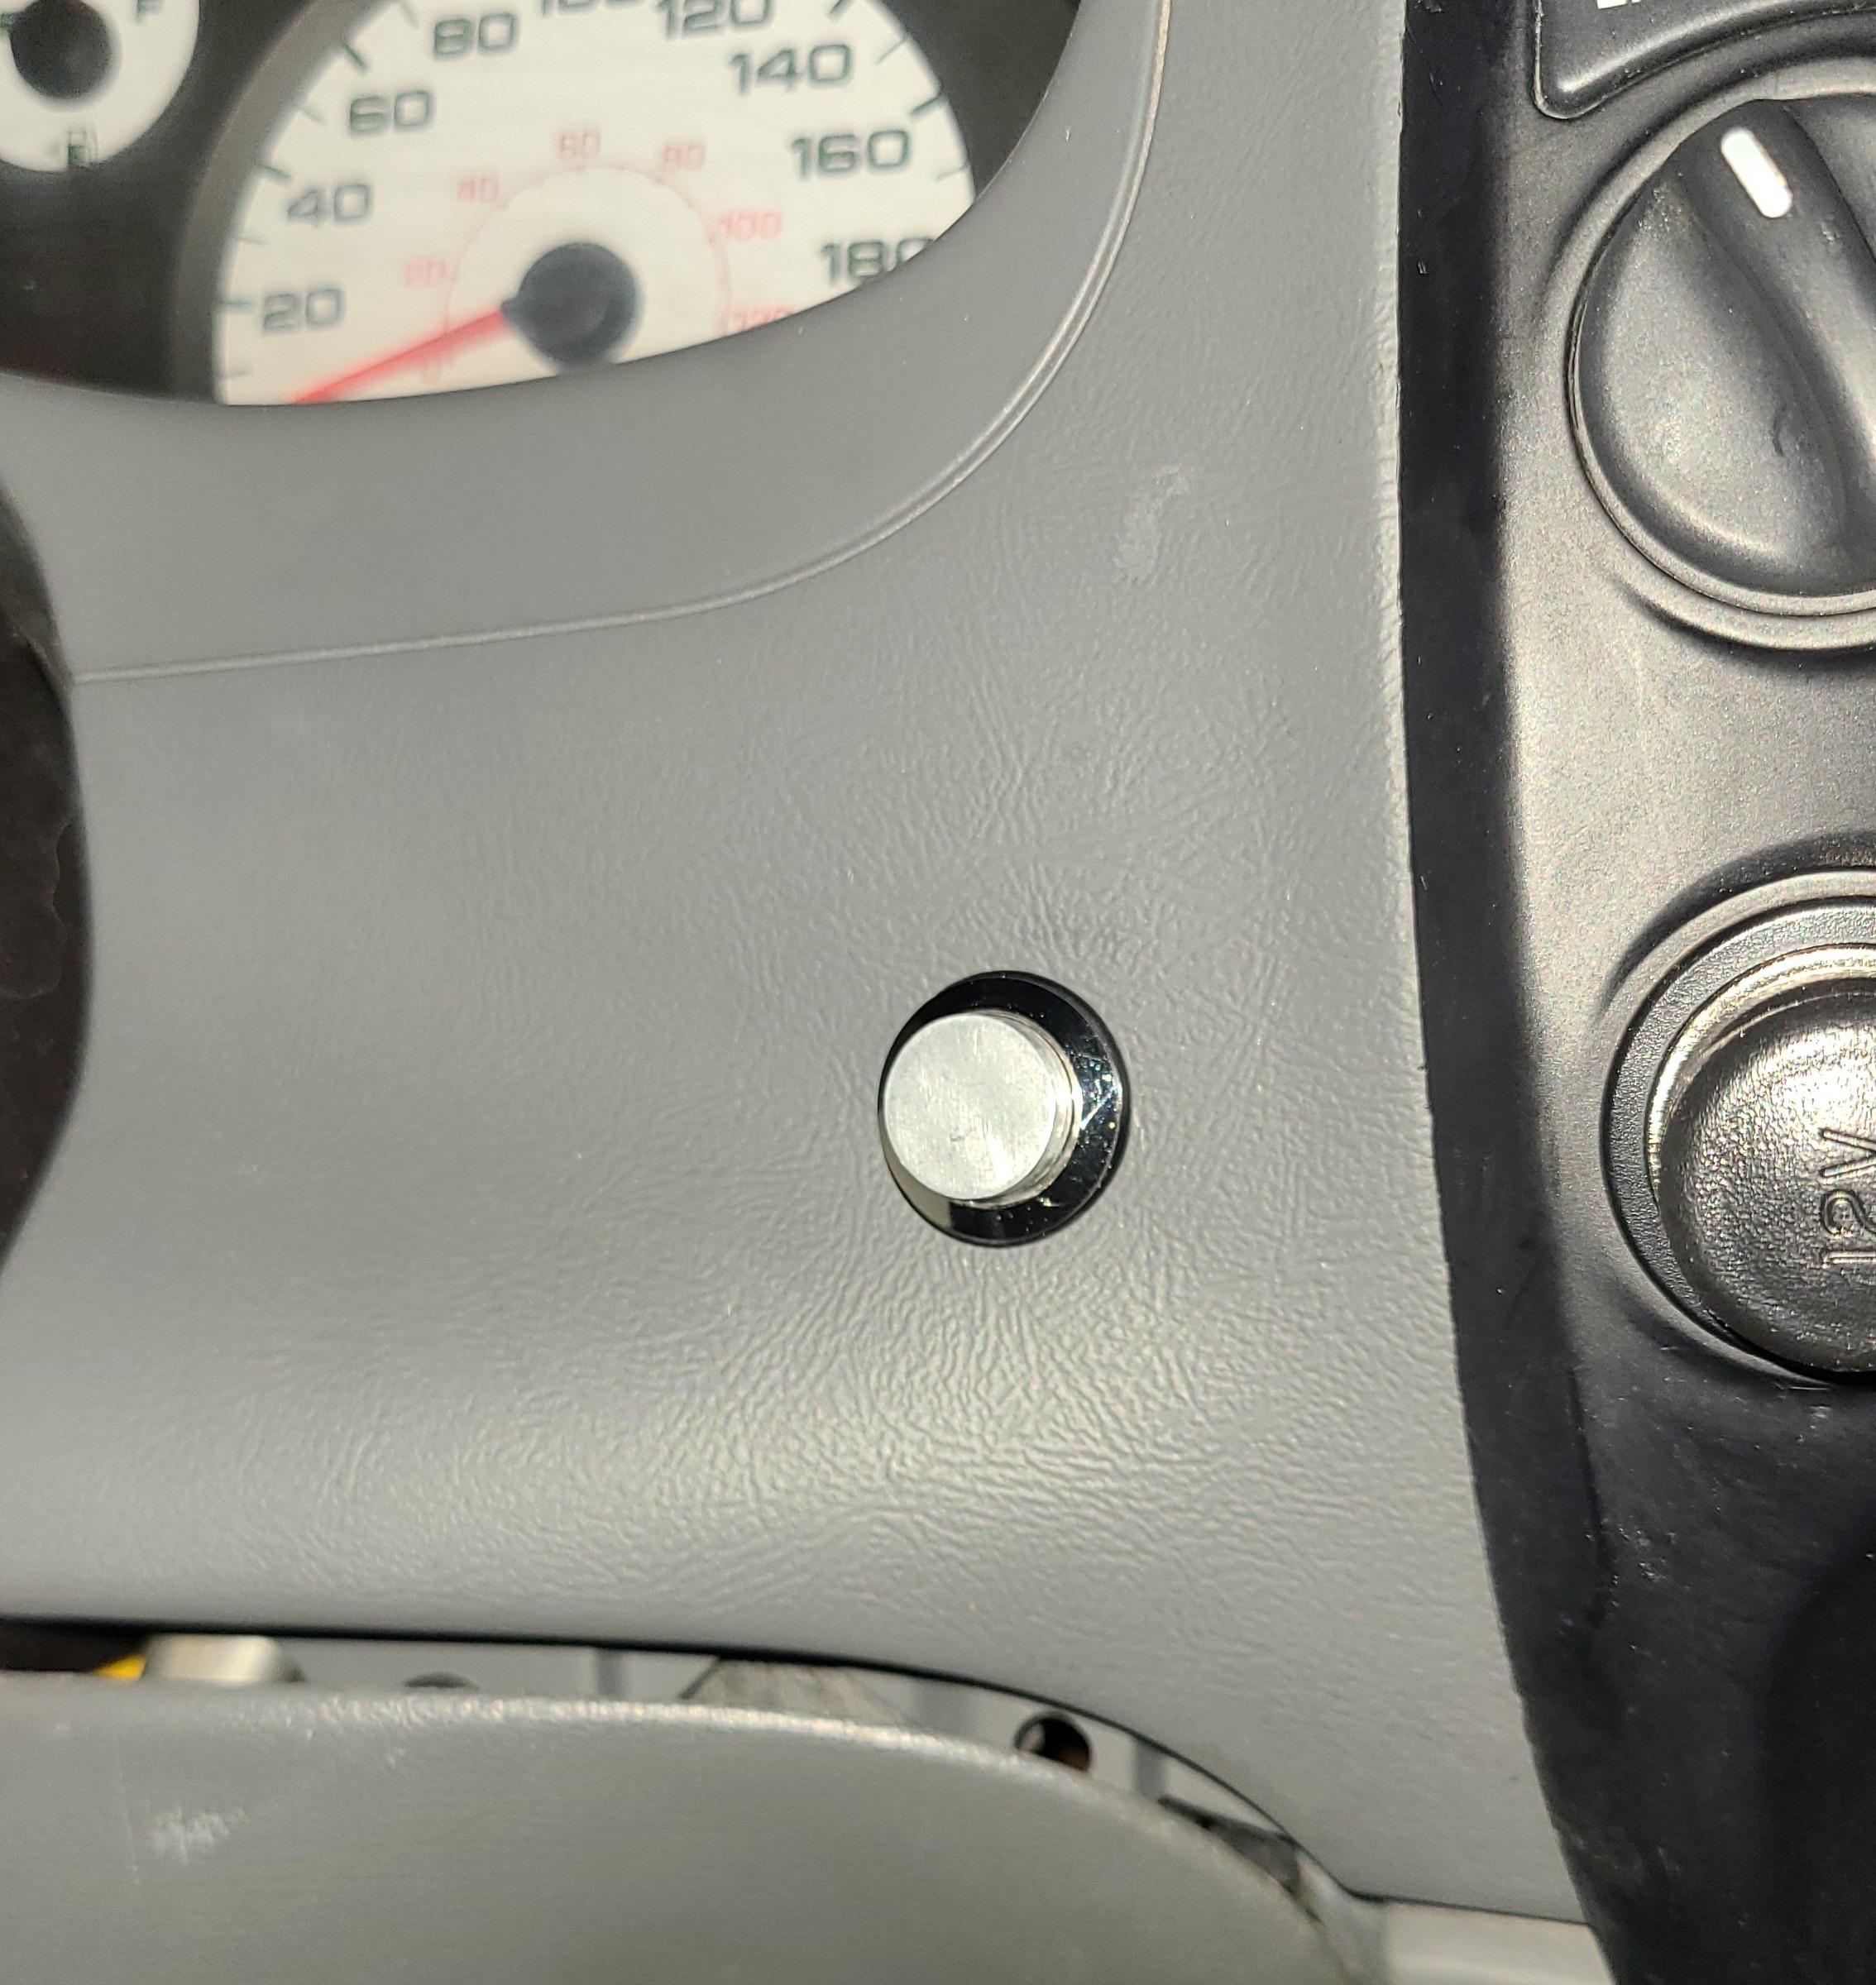
The button is always so tempting to press.
Results
Now I have a small truck with some bark.