2018 was the year I began my journey in learning electronics. Originally, I had an interest in computers and computer components, so I was typically found tinkering with computer hardware and making video game servers for some games me and my siblings enjoyed playing.
Later down the road, in 9th grade, I registered to an electronics course. This course introduced me to all the various electronic circuit components used to make a functional device. When I finished the course work early, I would tinker and occasionally experiment at home as well.
Febuary 2018
- My first electronic project was an audio reactive LED.
March 2018
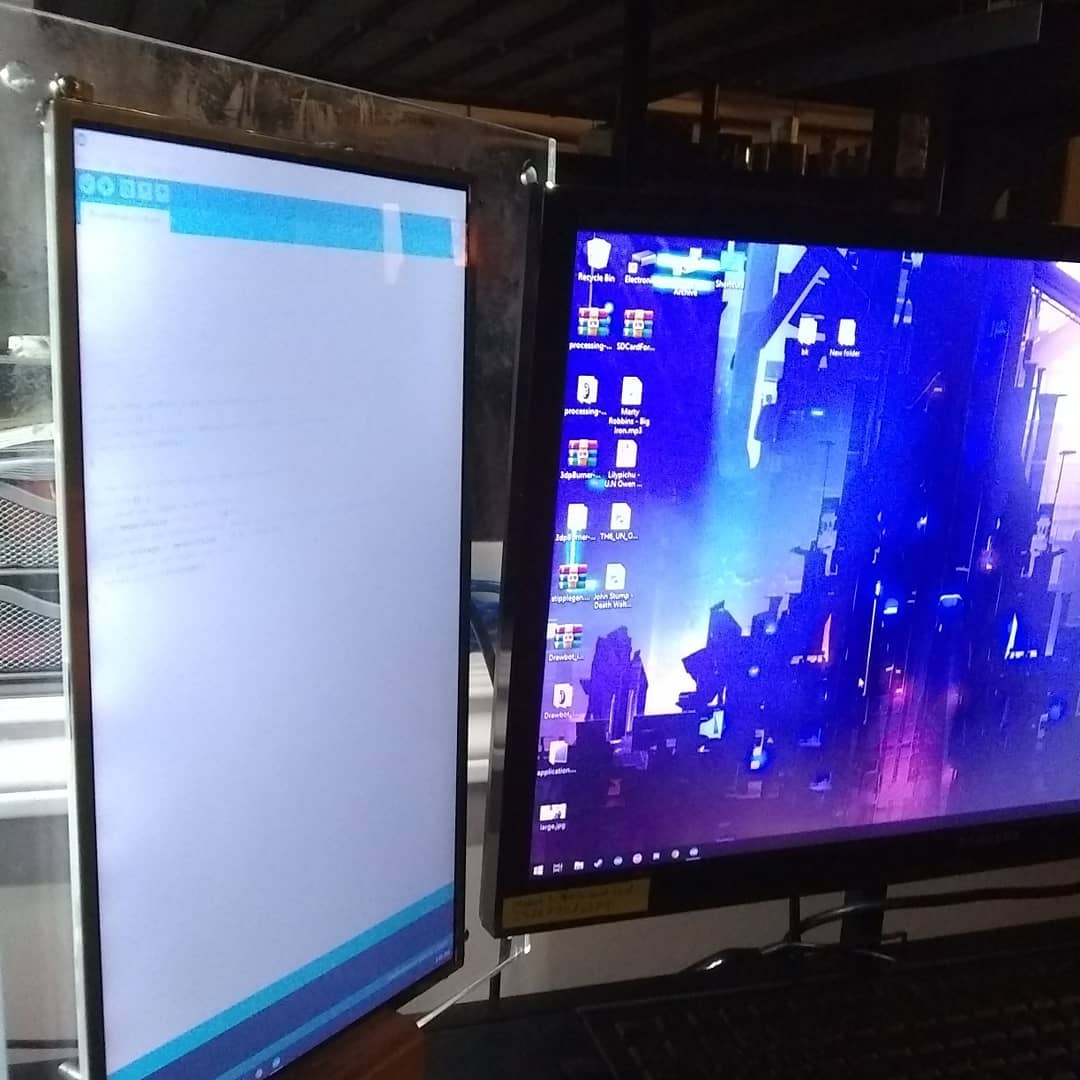
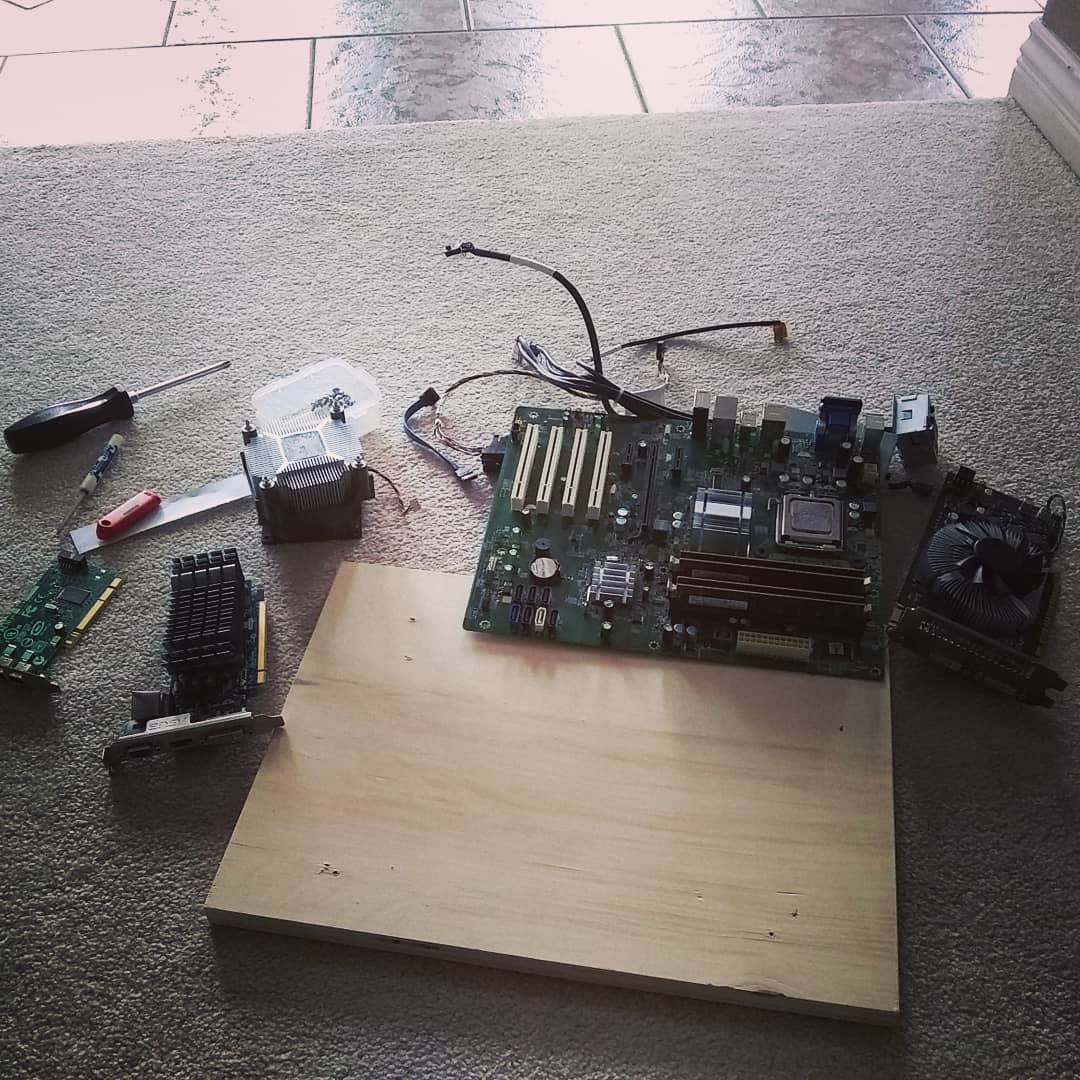
- Initially I had an interest in computers, software, and how they functioned. I had an old desktop that I would experiment with for instance, loading different operating systems such as Windows 7, Windows XP, Linux Mint, Ubuntu, Fedora, and making servers for some popular video games I would play with friends. Around this time I learned a lot about the command line in windows.

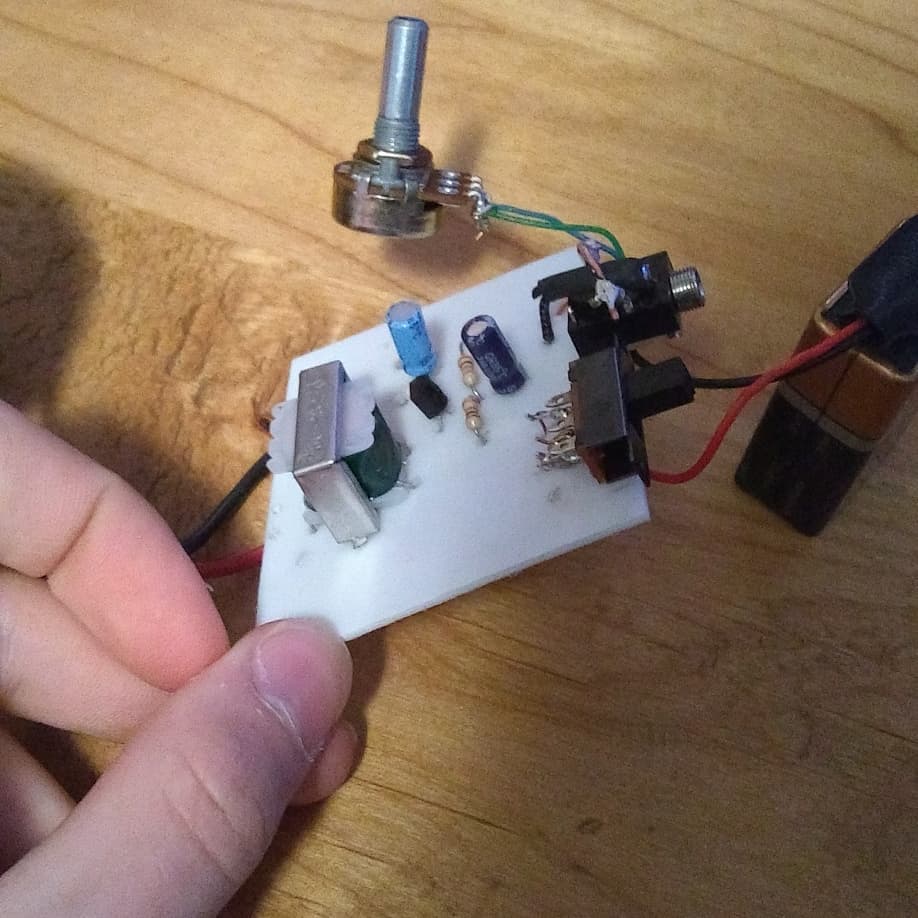
- My first attempt at working with an active electronics component was making this audio amplifier. I had no clue how these magic little three legged components worked, but I gave it my best shot while following resources online. I soldered this circuit together onto a cut piece of plastic from a milk jug. It was quite a start, and no, it did not work... as expected...
April 2018
- In April 2018, I created a stulus pen by using an old mouse and some lego.
May 2018
- May 2018 was around the time I was introduced to arduinos and the world of microcontrollers. The robotics club at my high school had gotten some arduino learning and development kits, and being overly curious I took interest in learning about what I could make with it.

This was also the beginning of my programming journey, as all I had done before this was windows cmd and batch scripts.
I was also creating some interesting projects in my electronics class as well, such as a binary counter with 7 segment display output and a siren circuit.
June 2018
June of 2018 was a busy month for projects. This was near the end of the school term and I kept myself busy in the electronics course I was registered to. Going in no particular order, I worked on the following projects:
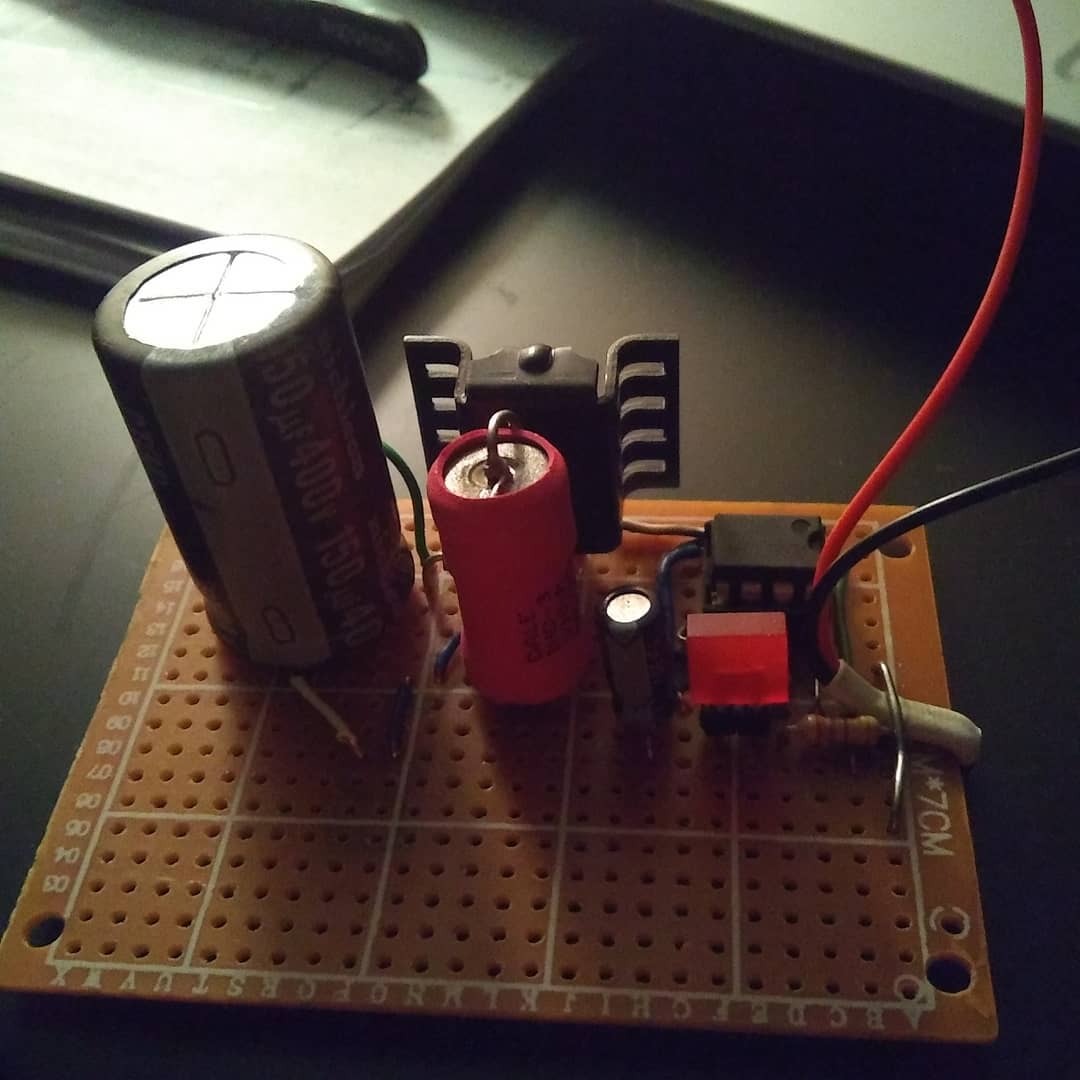
Being bored in my electronics class, I decided to be proactive and make something fun. I searched for a circuit online to bump up voltage and discovered how to make a boost converter. At this time, I had no knowledge of the math and calculations needed to make one of these work, but I managed to make one that was functional. I never took any operating point measurements, but from what I recall, the boost converter was capable of taking 9V in from a battery and bump it up to 80V.
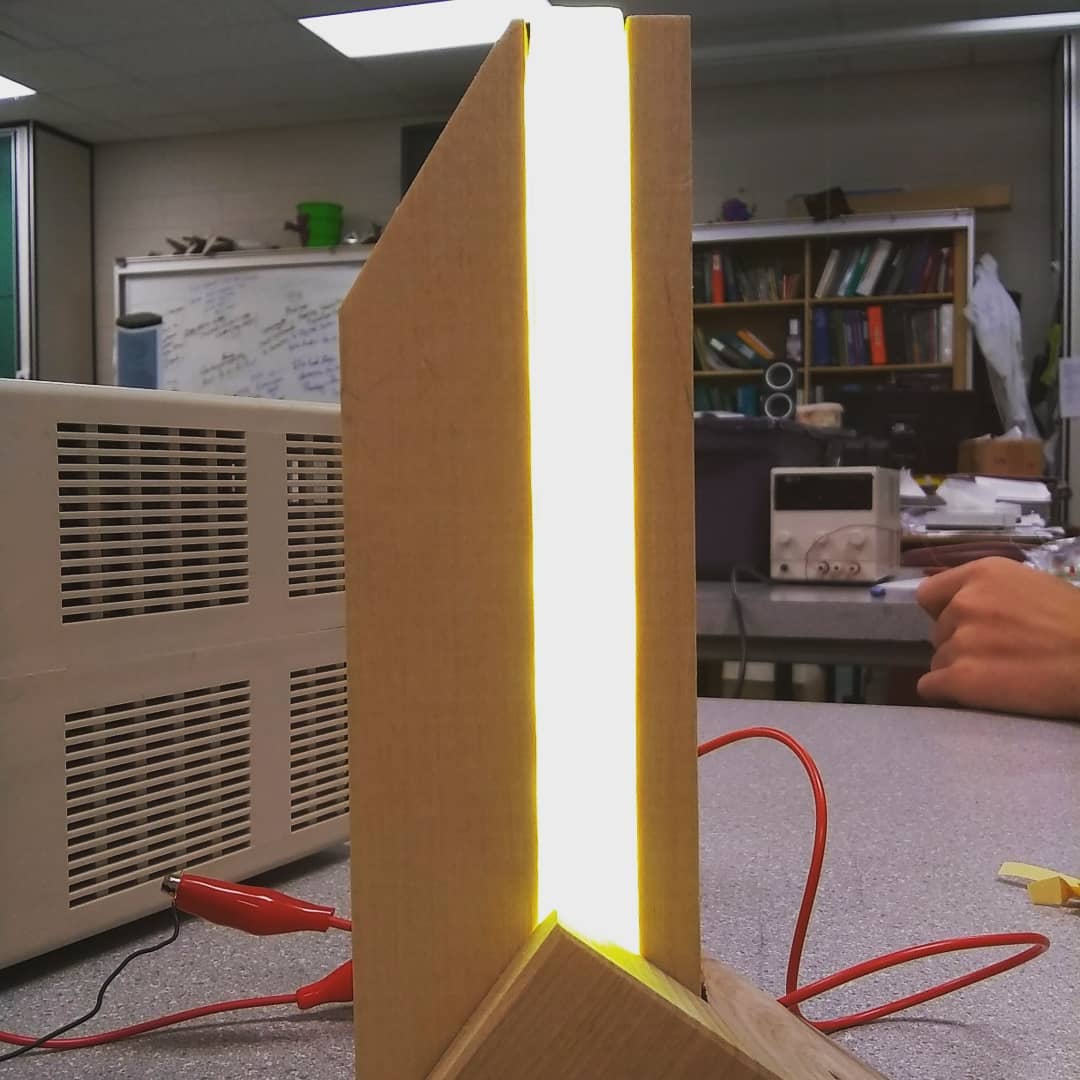
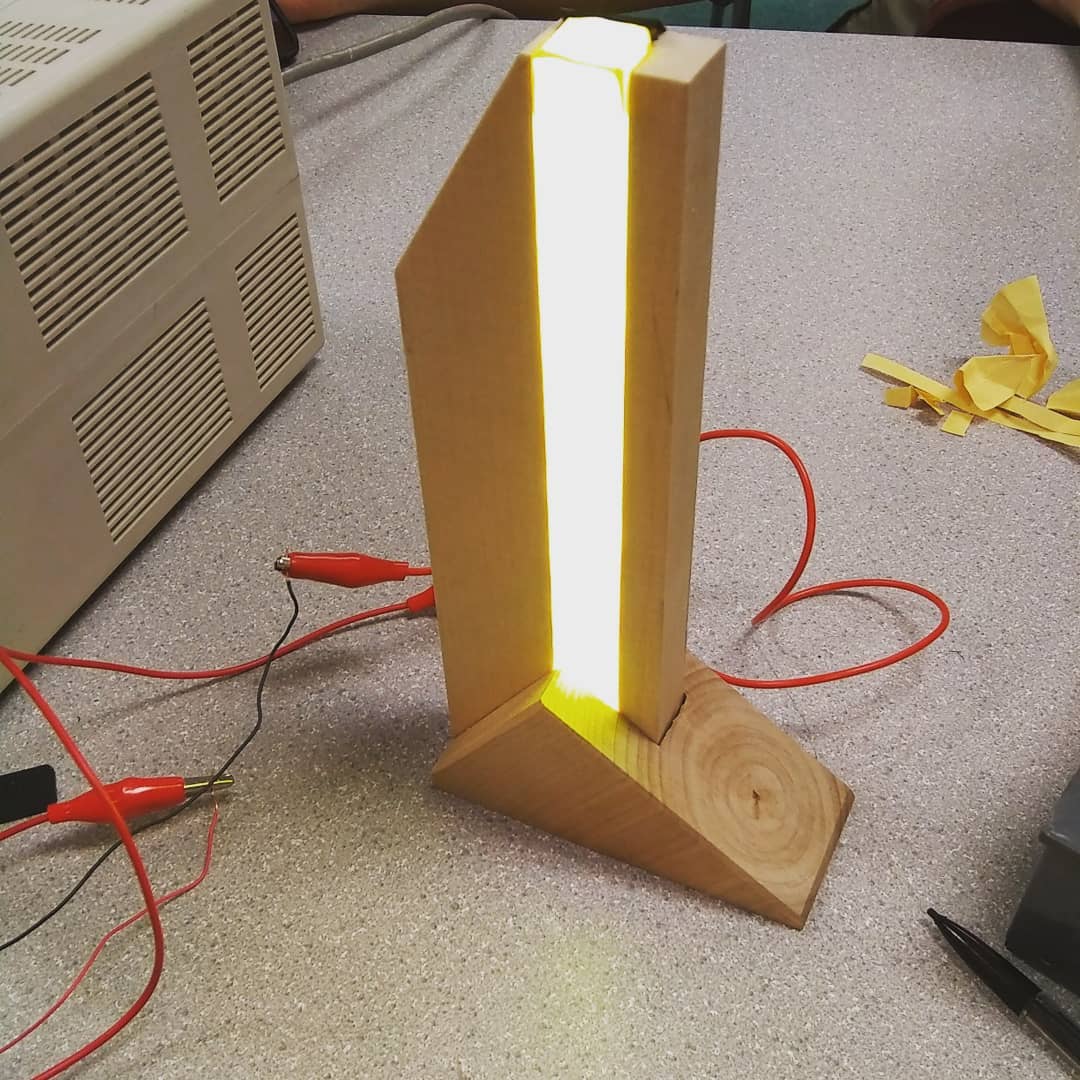
- Another project that stemmed from boredom was a lamp I made. I had an LED strip from an old light and wanted to make something fancy with it, so during my woodwork class, I made a nice lamp body out of maple hardwood and brought it to my electronics class. In class I soldered the LED strip to some wires and glued the LEDs into the wood lamp body. Using paper as a diffuser resulted in a nice looking desk lamp.
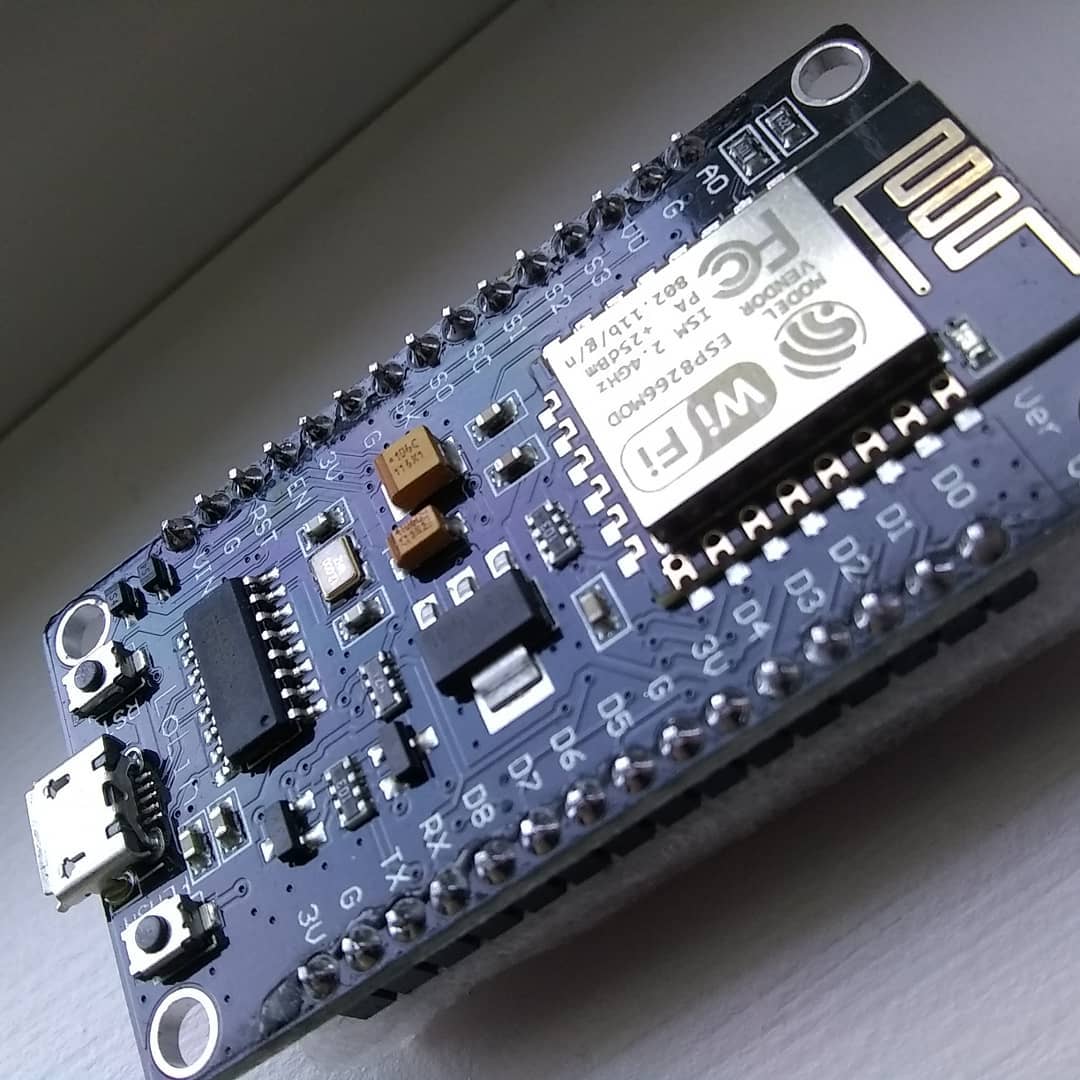
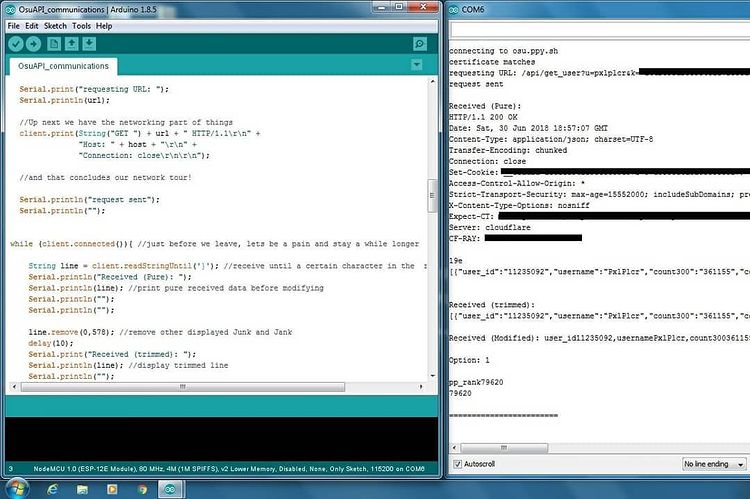
- At home, I recently bought an Espressif ESP8266 wifi microcontrolelr to play around with. I experimented with connecting to APIs and making small webservers from the microcontroller.
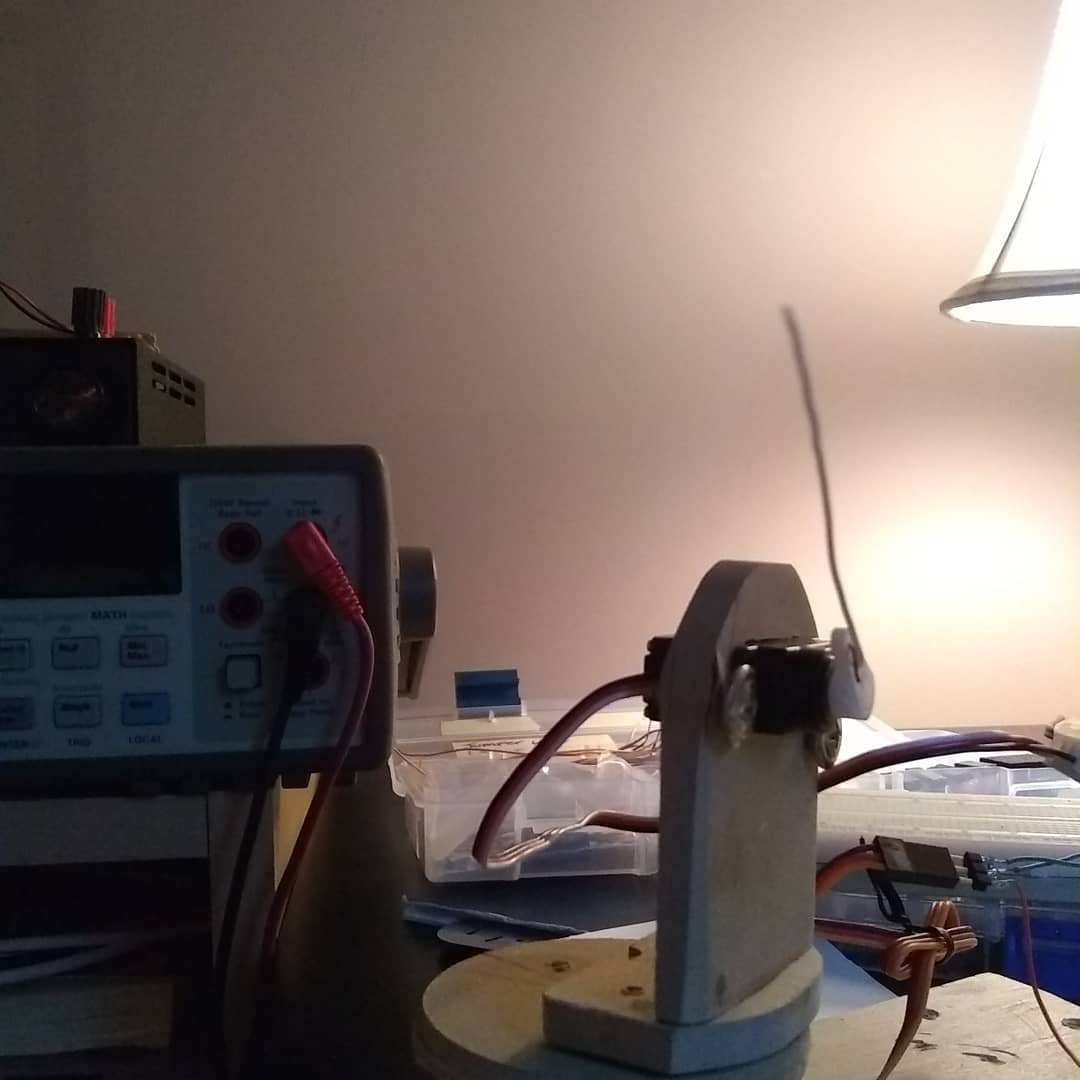
- For more fun with Arduinos, I experimented with servo motors and made a small two-axis servo pointer. The idea with this creation was to have it randomly move a laser to entertain my cat.

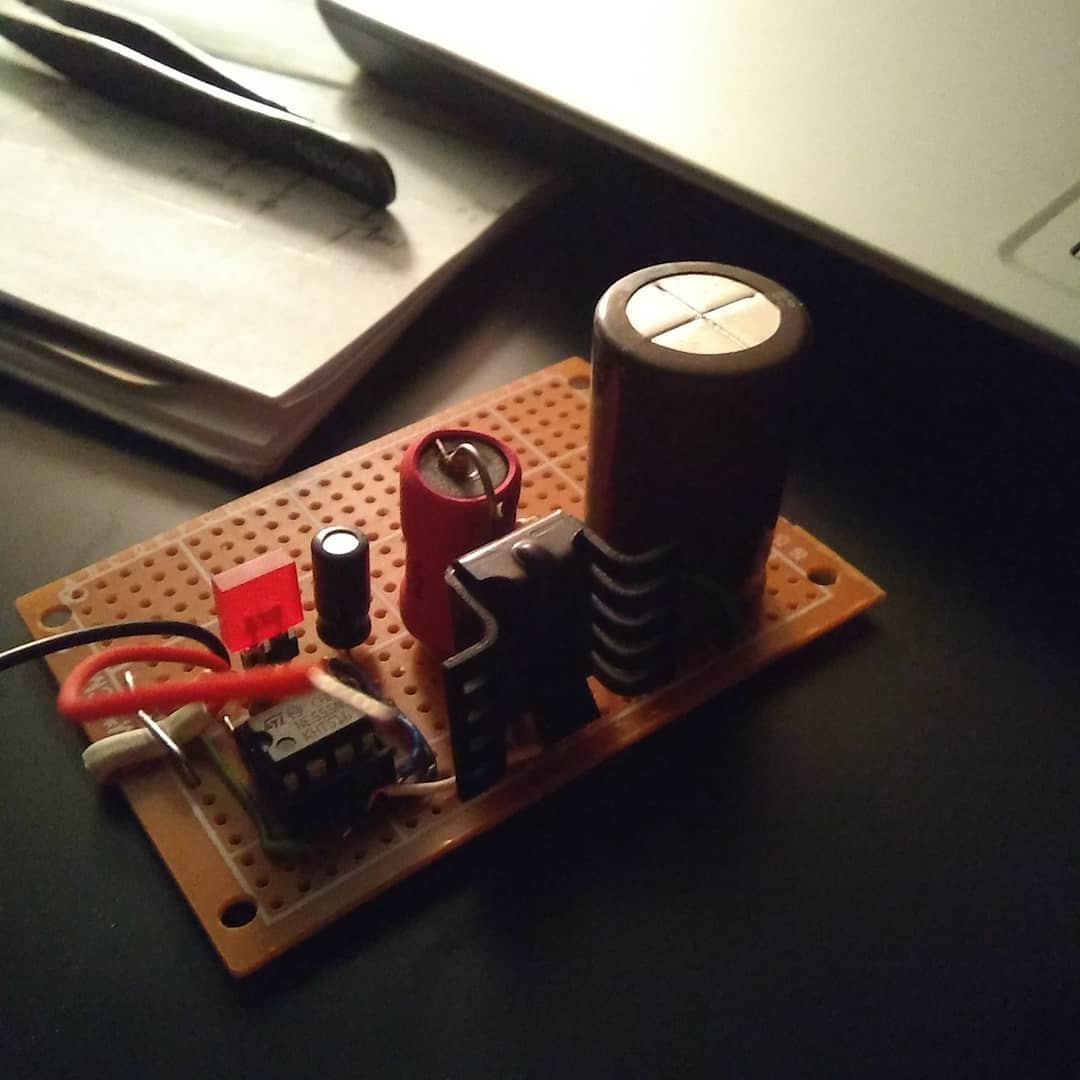
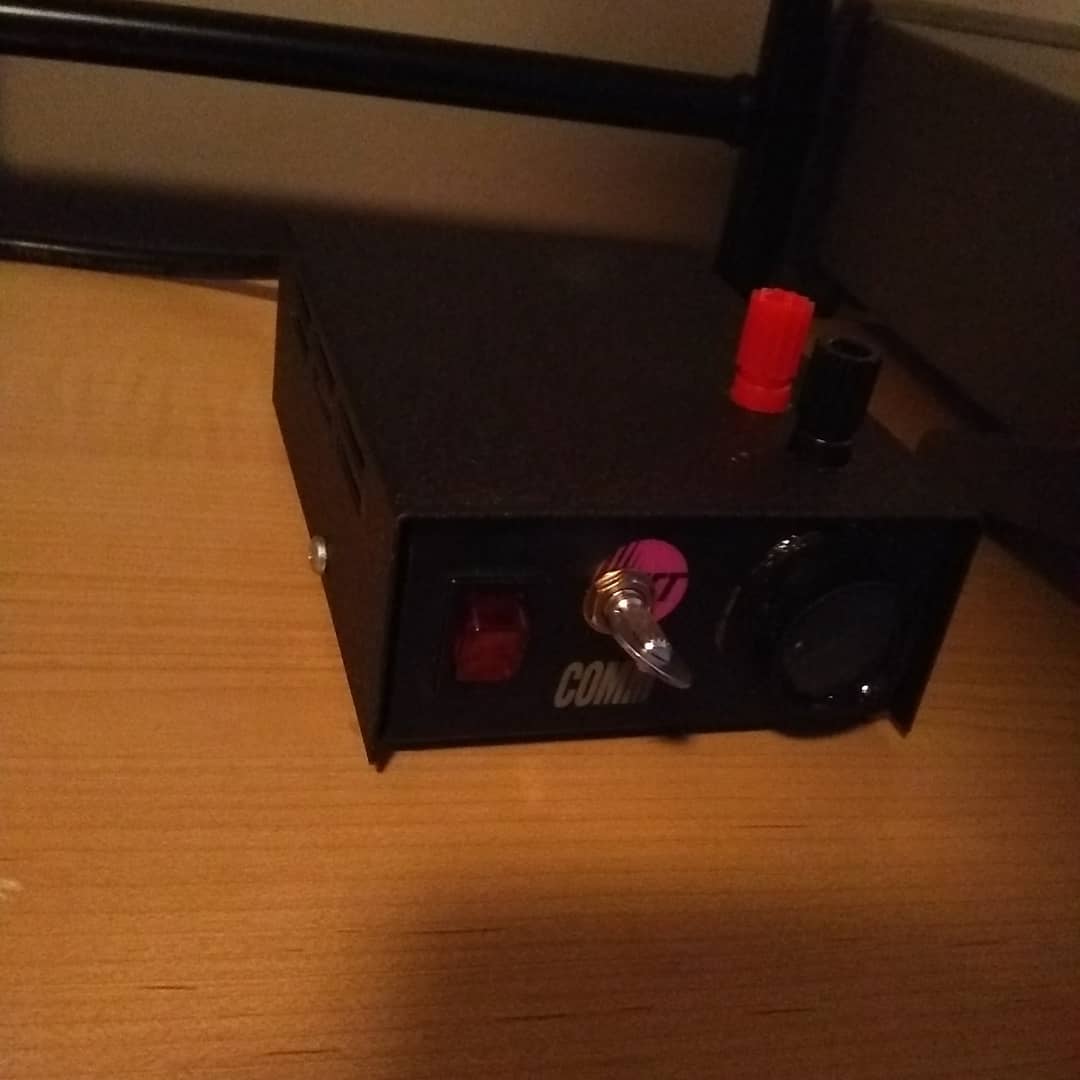
- I was always in need of a power supply for my experiments at home, so I got my hands on some LM317 linear DC regulator ICs. With the help of some guides I found online, I built a 1.25V to 12V DC power supply.
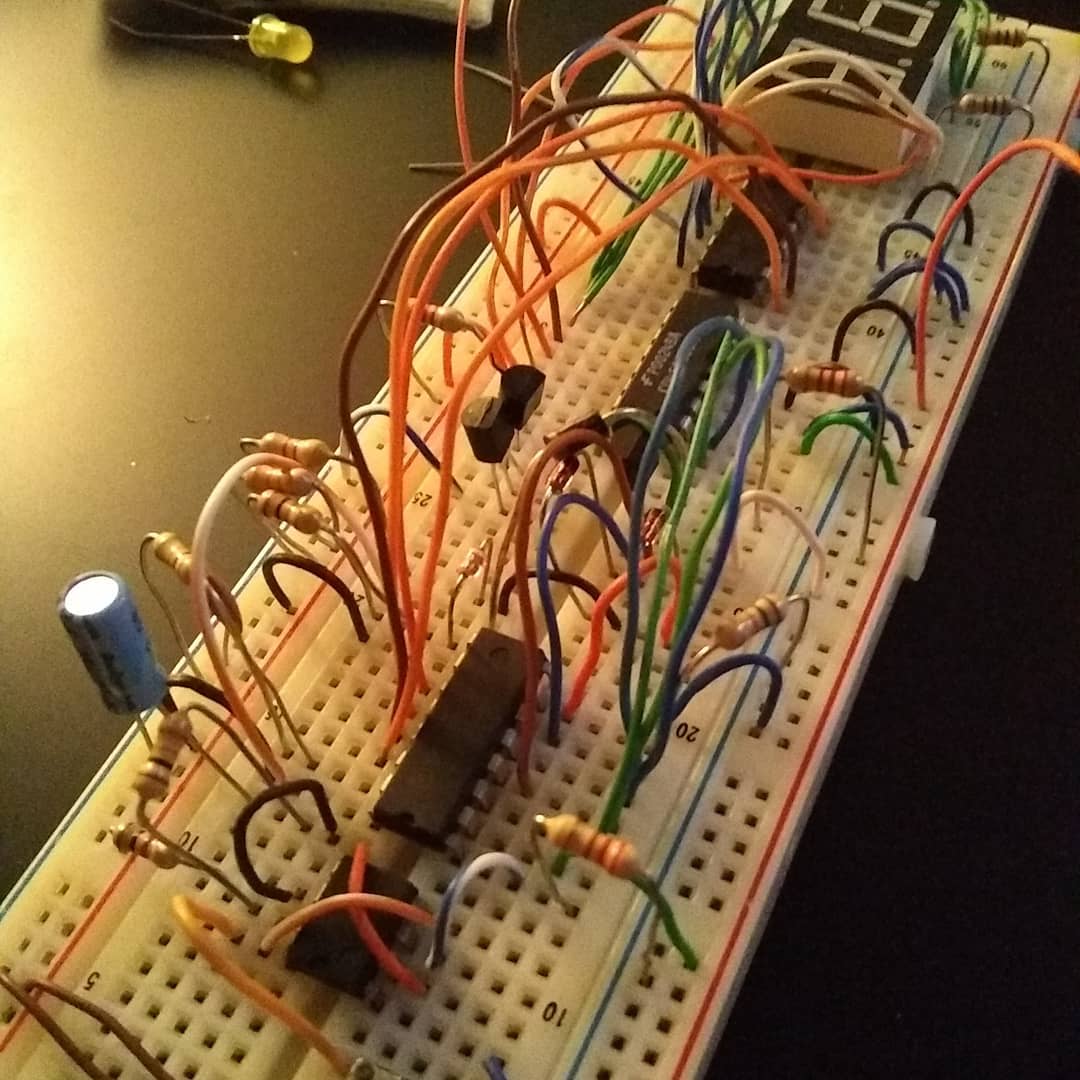
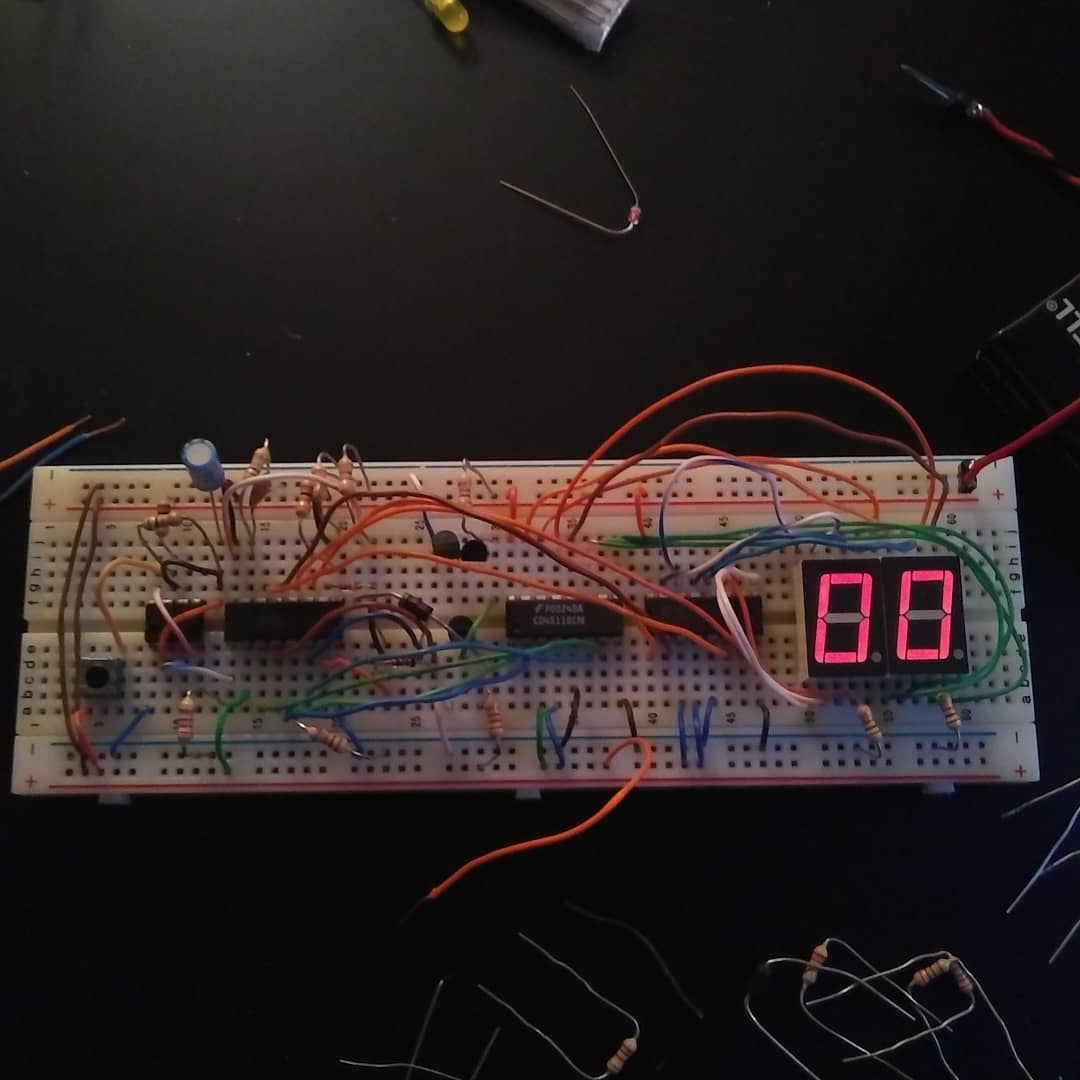
- Lastly for this month was my greatest achievement at the time. I was able to create a counter. sounds boring, I know, but it was quite a learning curve for me. This was the first complex circuit I had made at the time. Using a 555 timer, binary up-counter, binary to 7 segment decoder, and some discrete logic with diodes to create gates, I was able to create a counter that incremented from 00 to 99!
July 2018
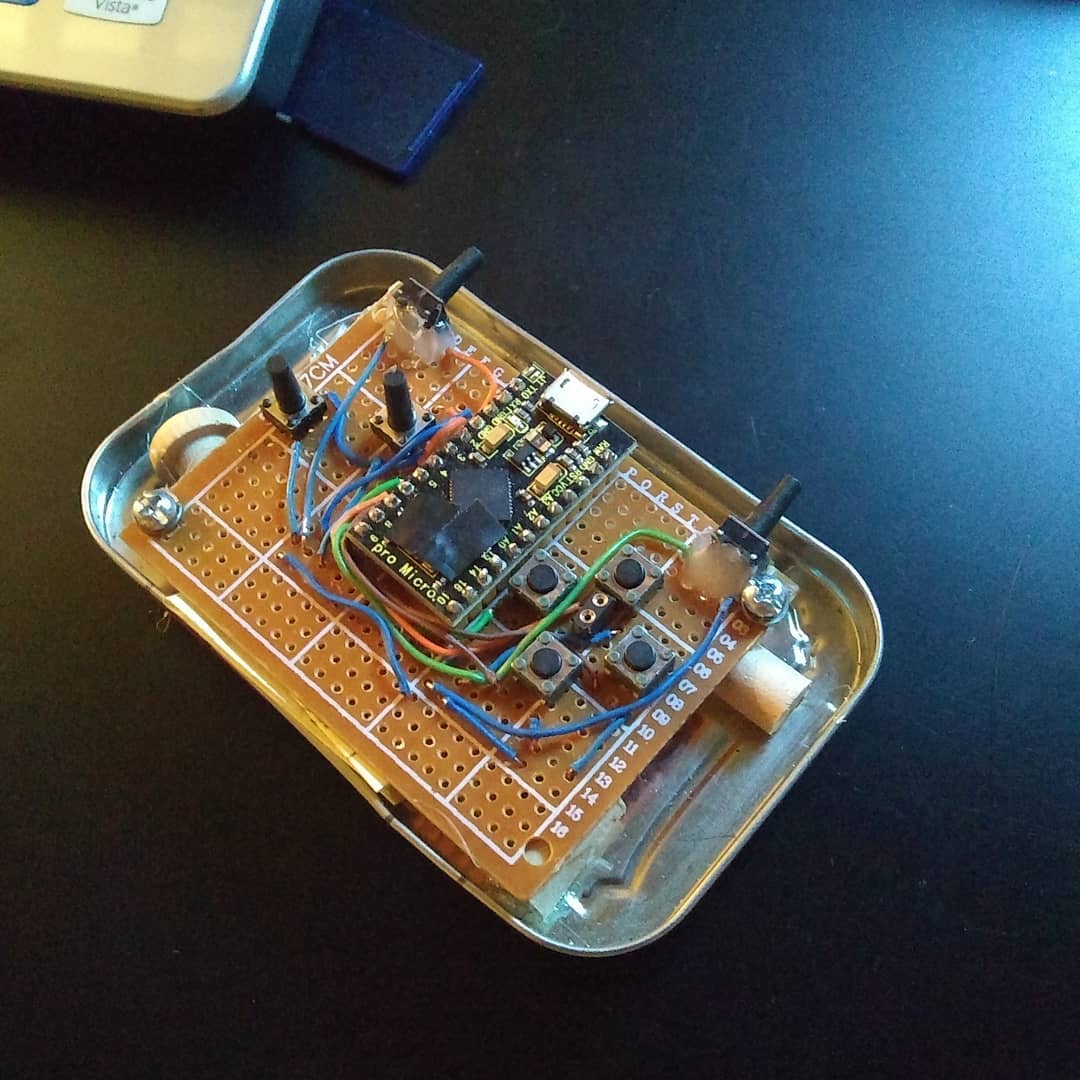
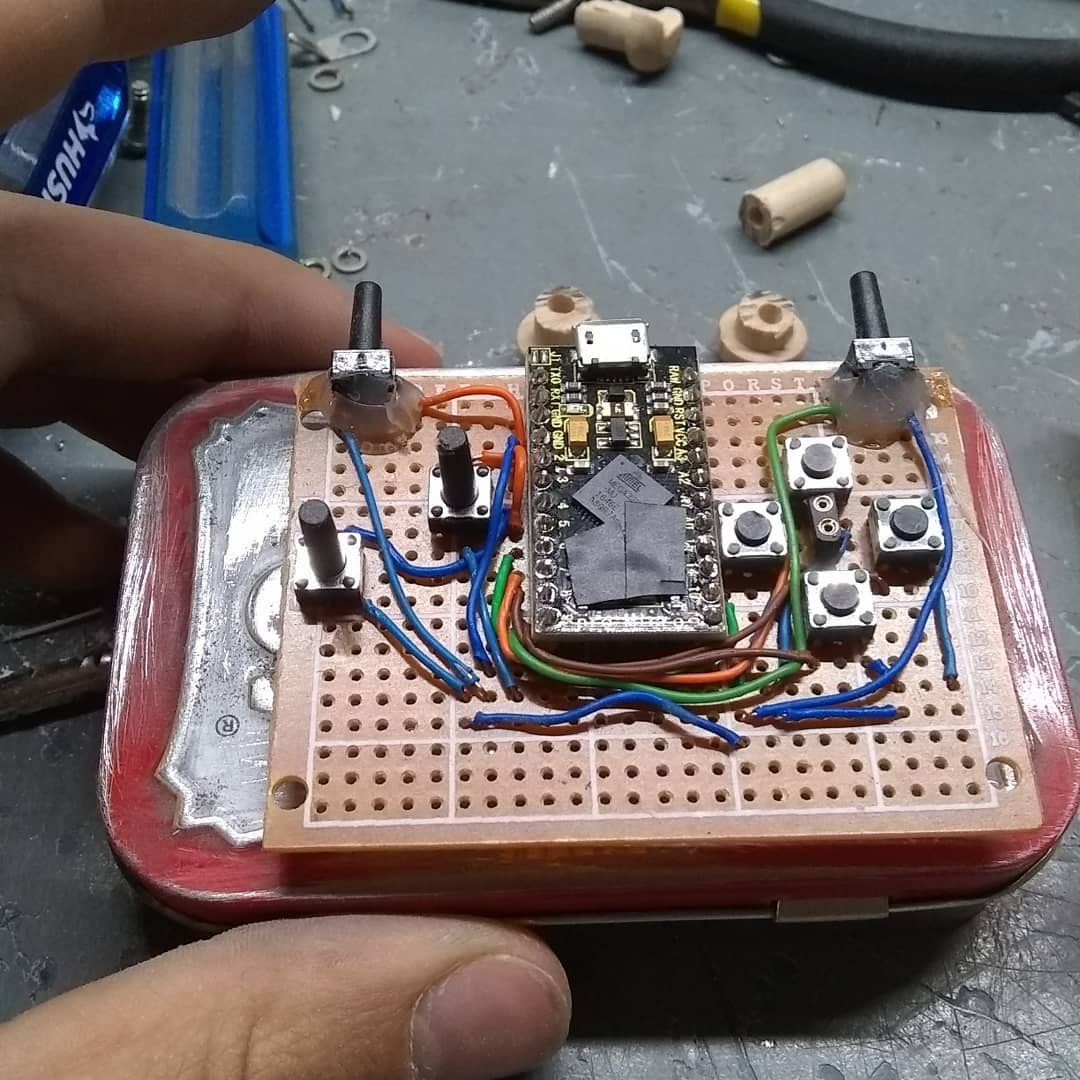
- This month I made a small altoids tin game controller. The idea sprung up when I learned that an Arduino Pro Micro can be used as a human interface device (HID) and send keyboard or mouse inputs to a computer. I wanted to try and make a small controller for the fun of it, and so I did.
- Another experiment I did was making my Arduino output music through PWM.
August 2018
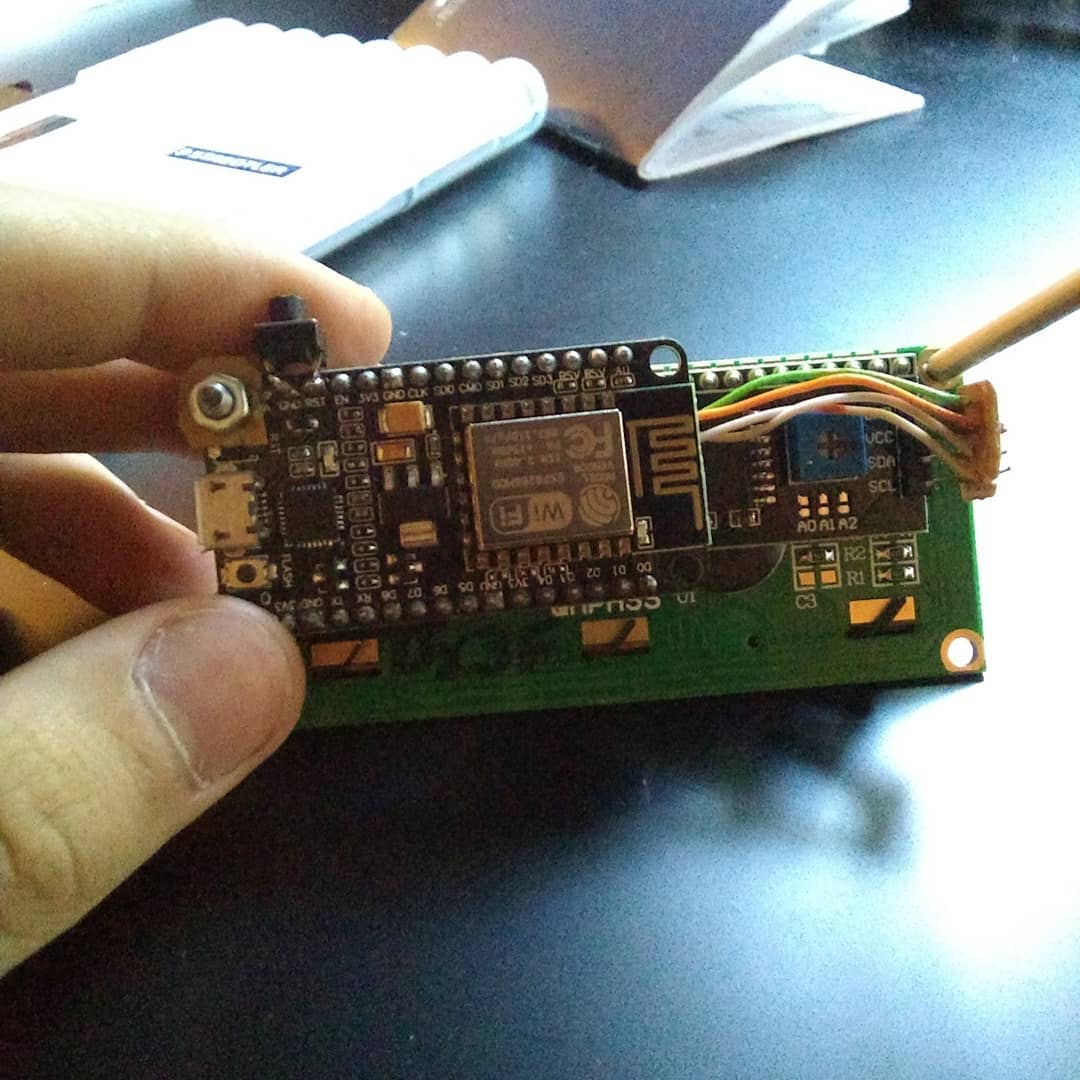
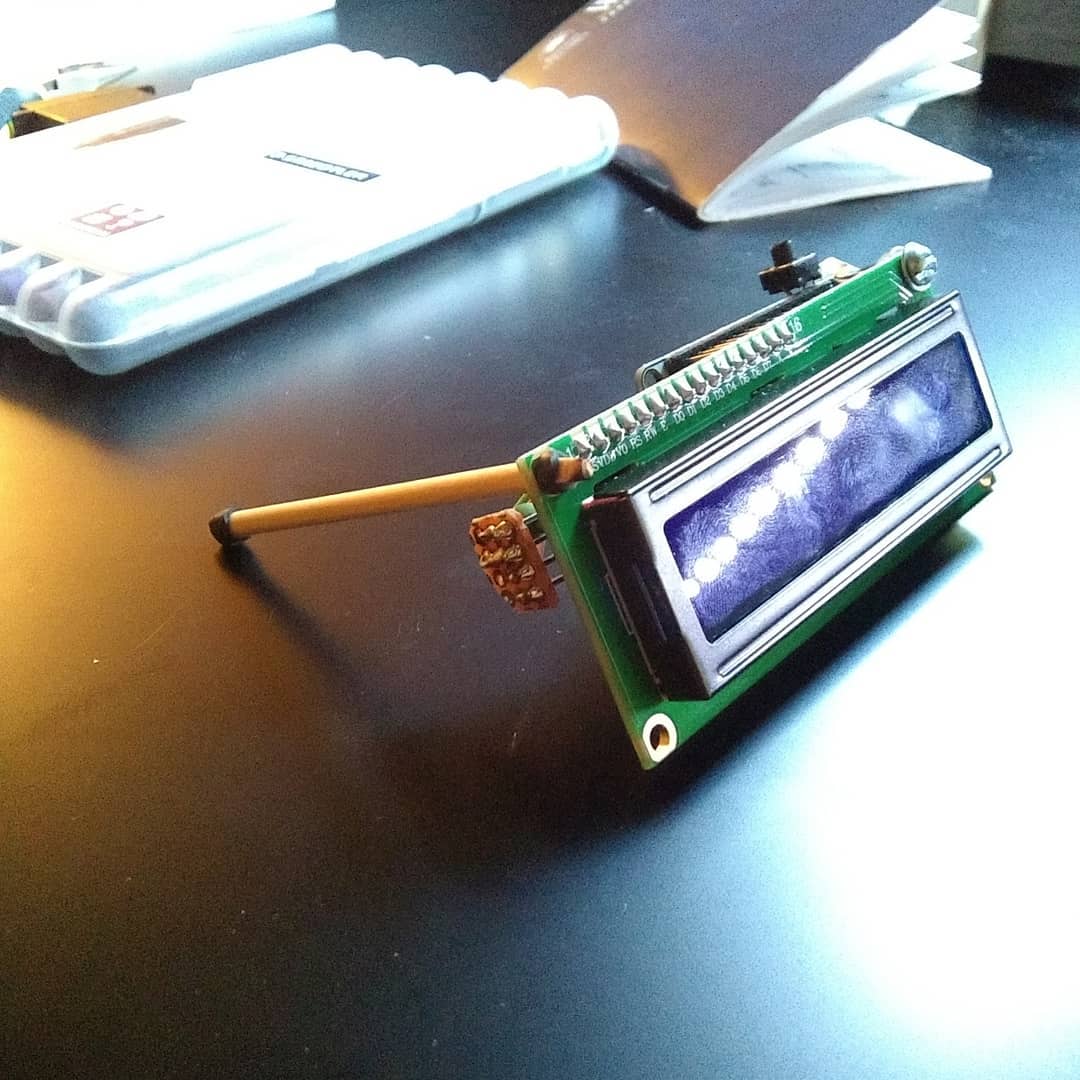
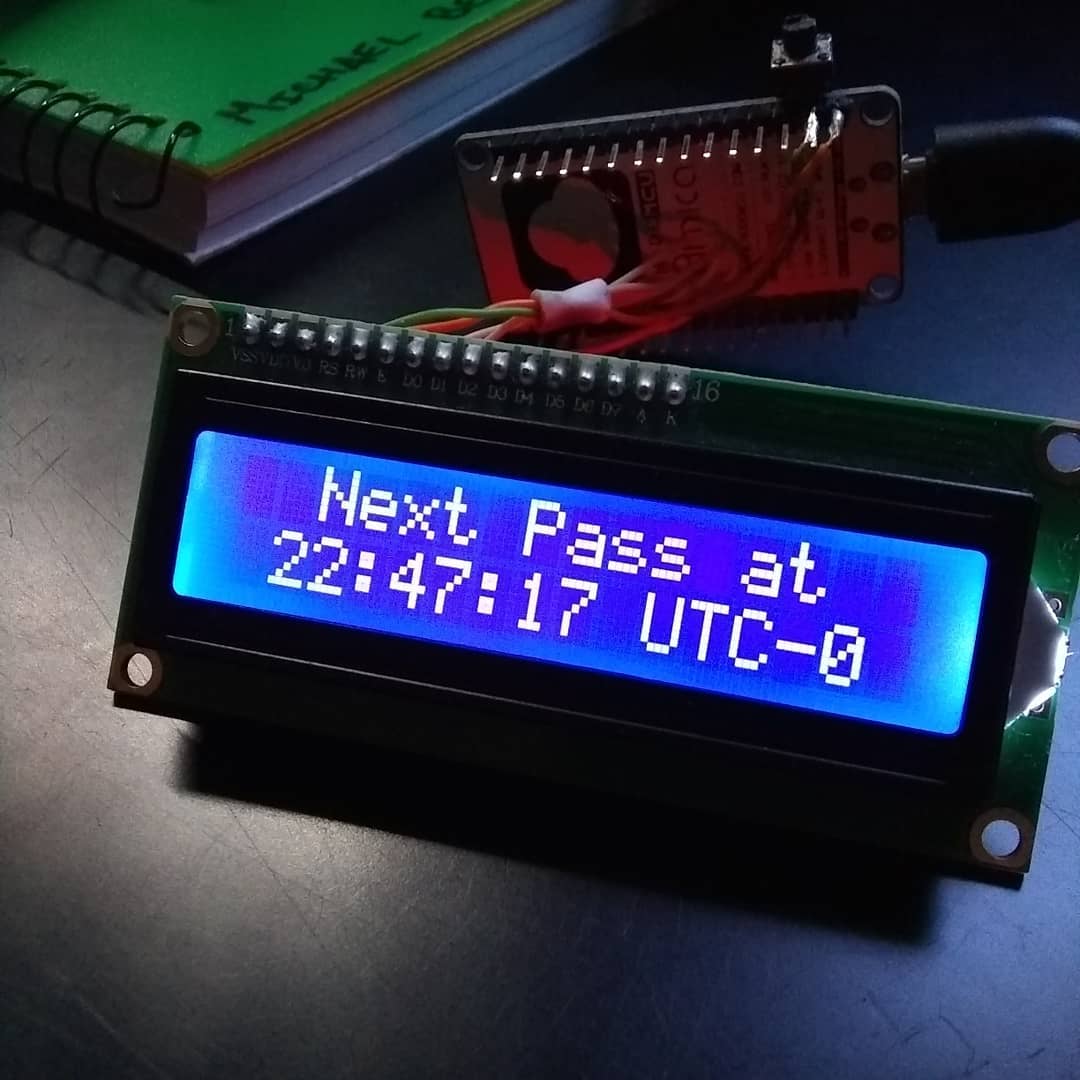
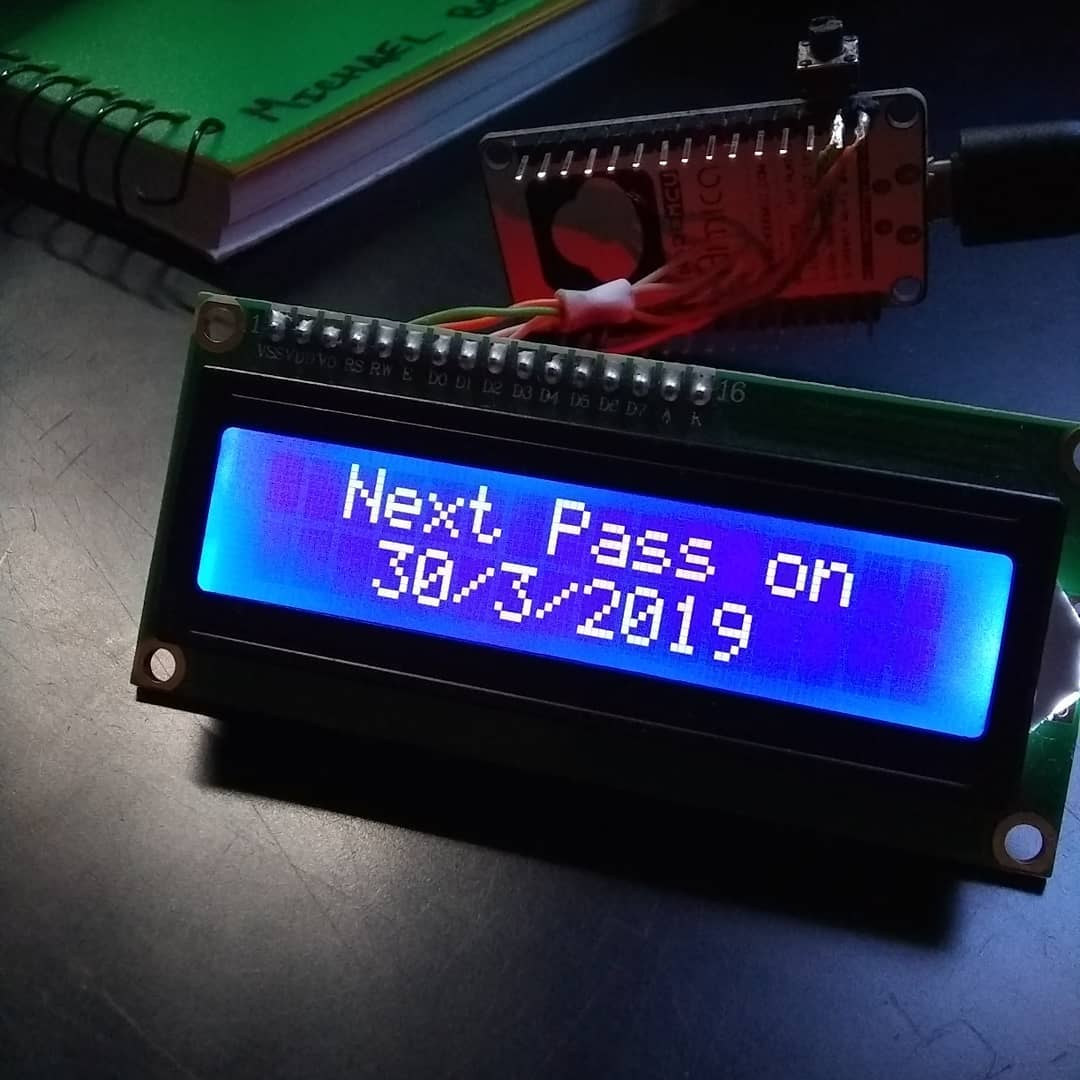
- When I was experimenting with API connections and webpages using the ESP8266 wifi enabled microcontroller, I wanted to display information. This was done with a 2x16 character LCD screen connected to the microcontroller through I2C. At the time of creation, I didn't make the device do much, but later on in early 2019, I made the ESP8266 pull satellite information from the web and tell me when the international space station was overhead.
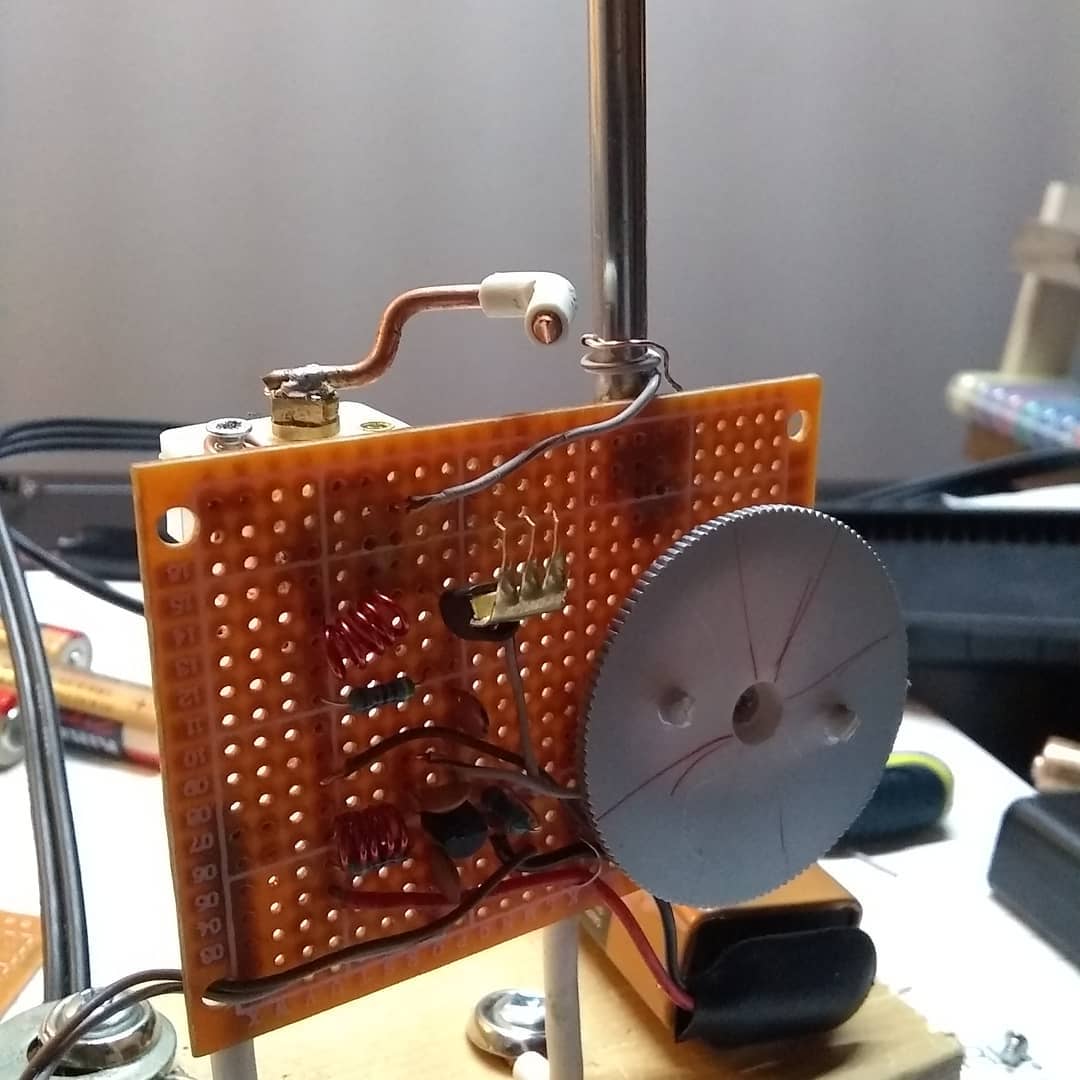
- Another milestone I made was this two transistor FM transmitter. I didn't know much of anything about radios, impedances, antennas, or related topics, but I was extremely curious and wanted to try making this circuit. So after some failed attempts, I was able to create this FM transmitter. It had a decent audio quality over my dads truck FM reciever, but the oscillator was very suceptible to stray capacitance and would change frequency anytime I got close to the antenna or circuit board.
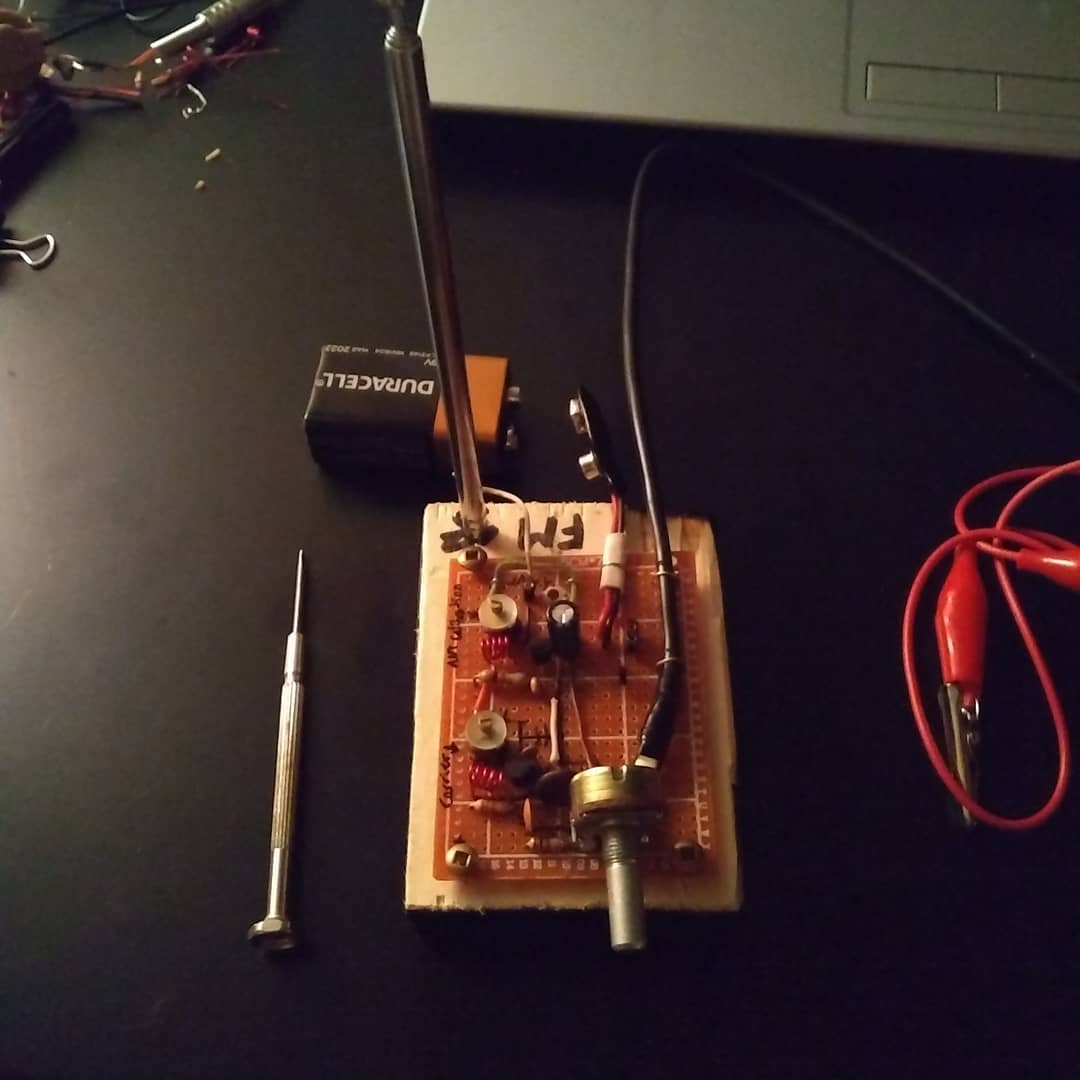
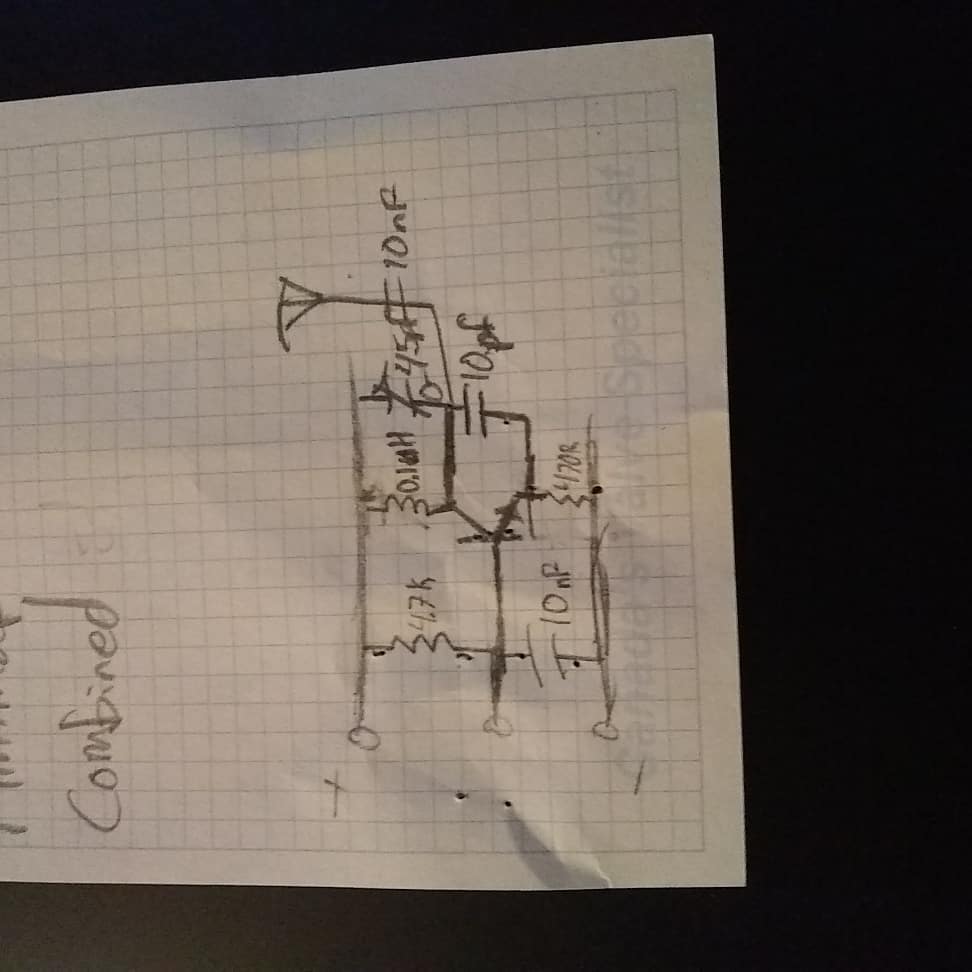
- The schematic shown above was more of a reference as I implemented (to the best of my ability at the time) a buffer/amplification stage with another transistor after the first transistor. I cover another version I made of this transmitter in October 2018
September 2018
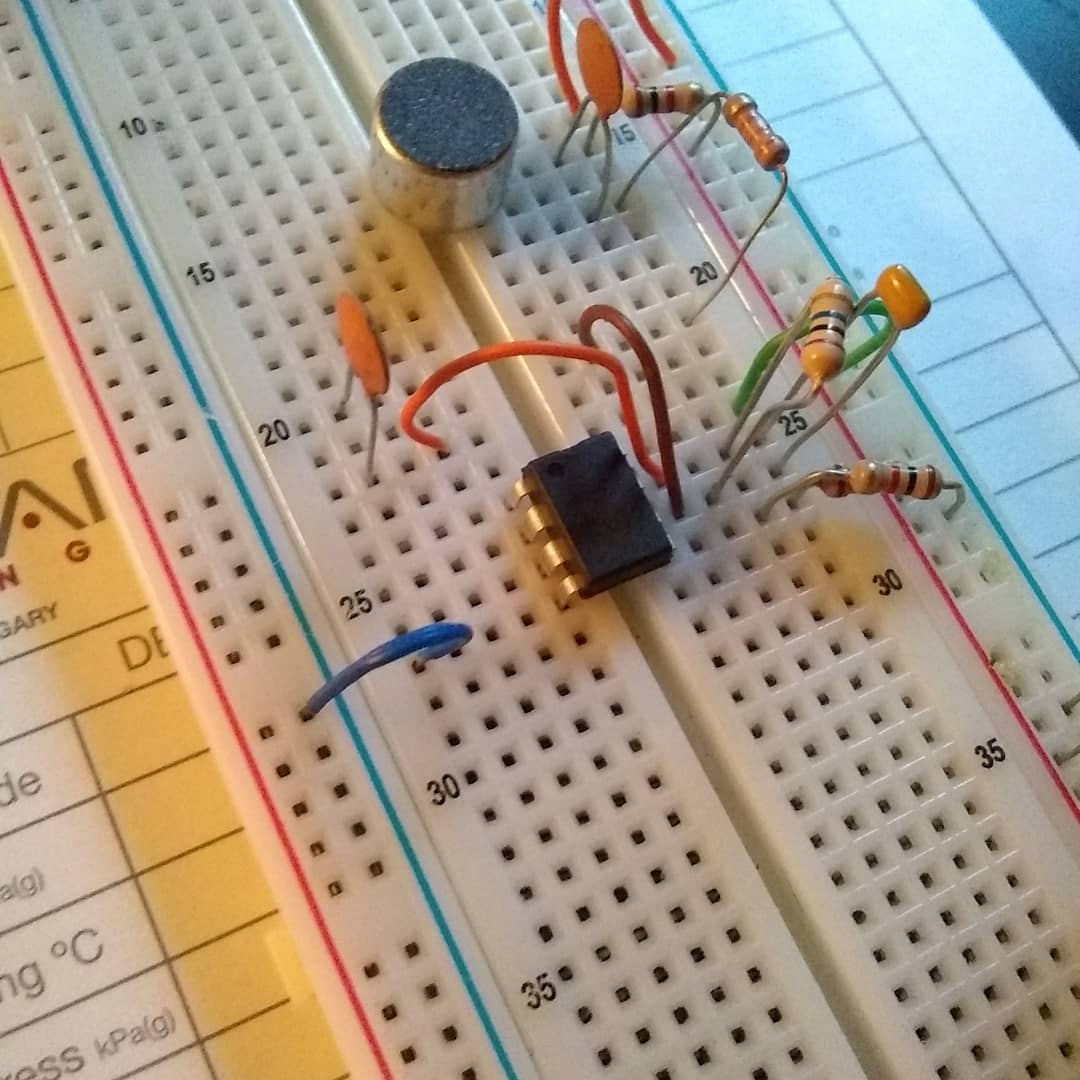
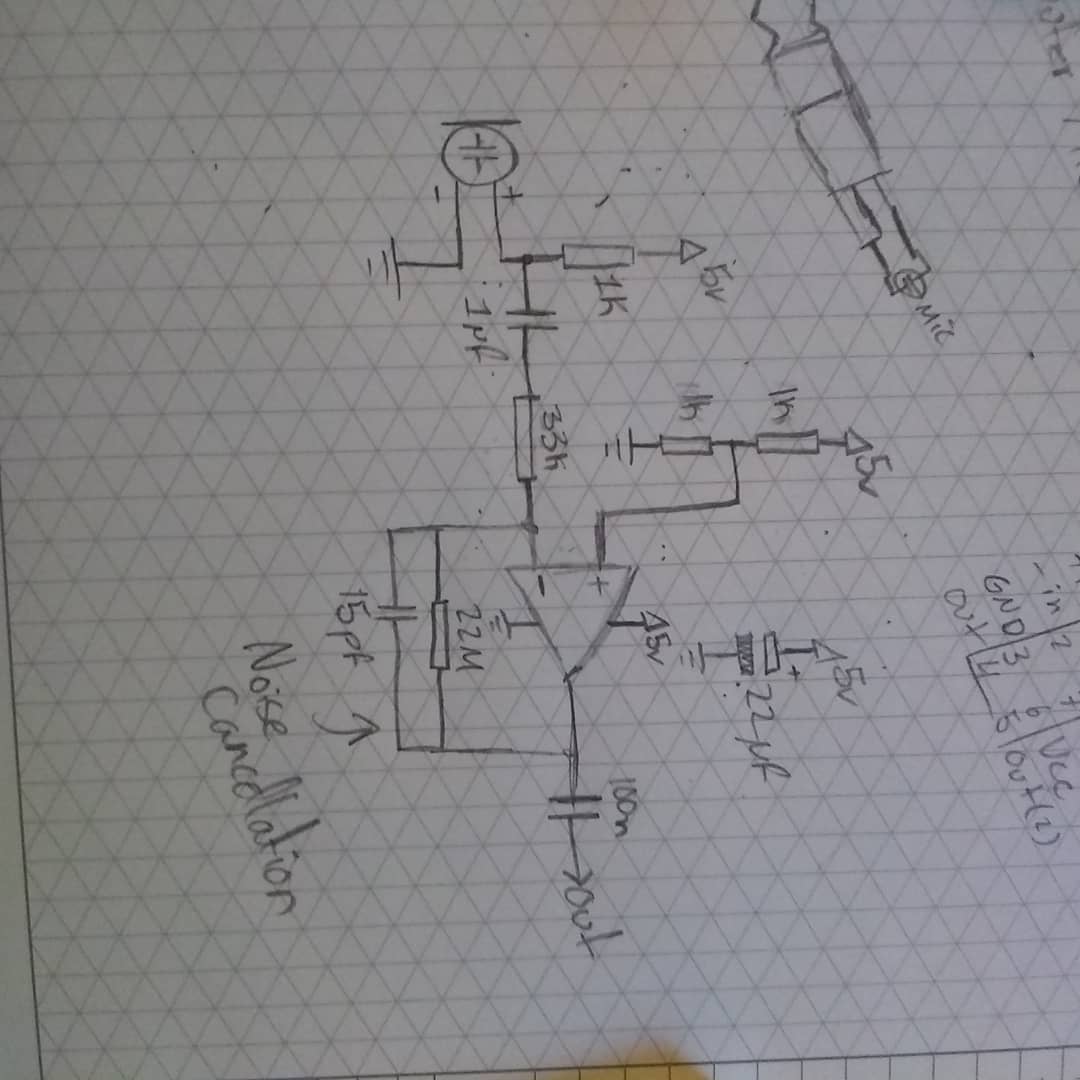
- September wasn't very full of projects, but I did begin playing around with operational amplifiers. In this case, I was looking into how I could make a microphone for my computer so I can talk with friends over discord. Using an electret mic and an op amp that I really cant remember the part number of, I was able to make the worst quality microphone possible! It was quite entertaining as my friends kept saying my mic sounds like I'm at niagra falls or in a severe rainstorm. Noisy!
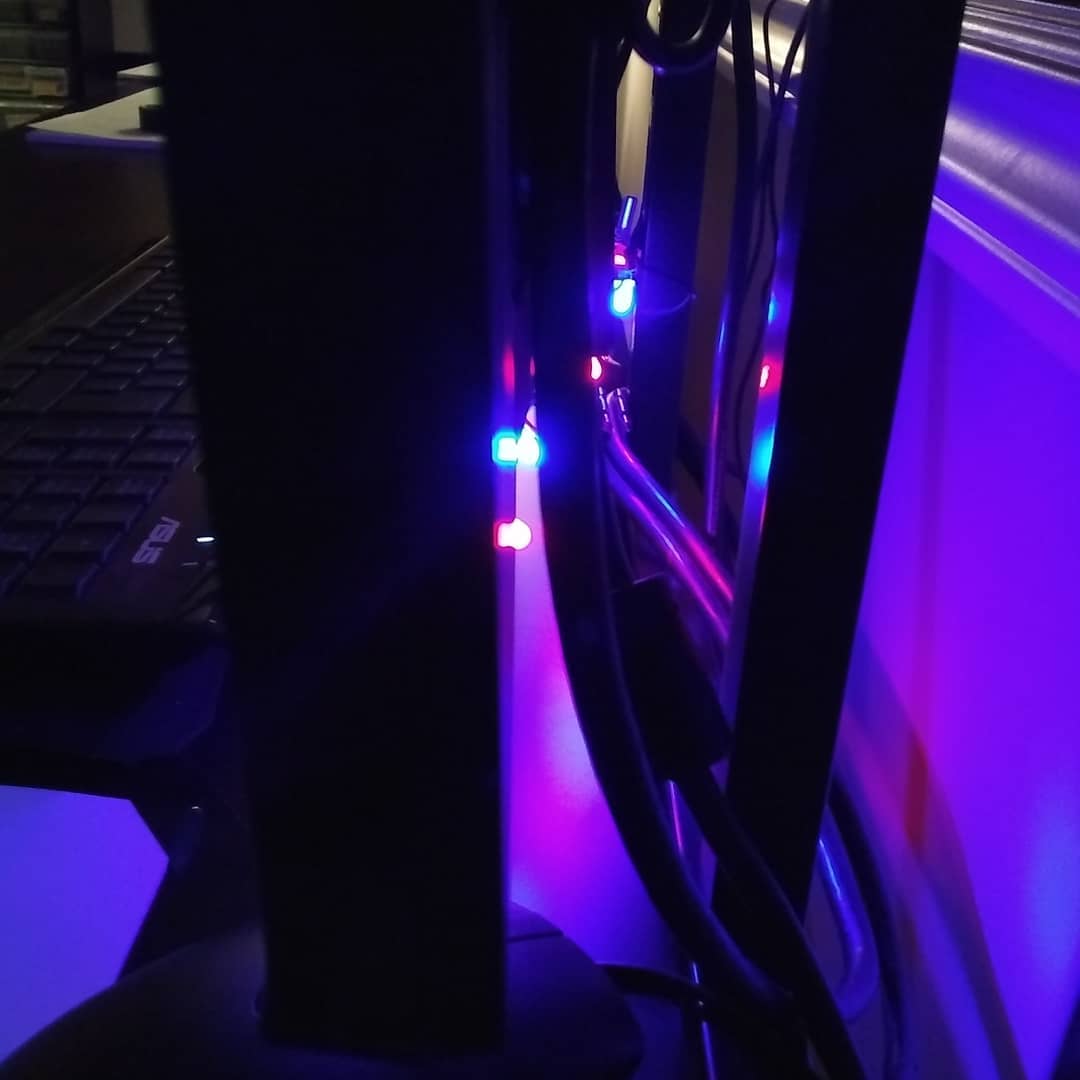
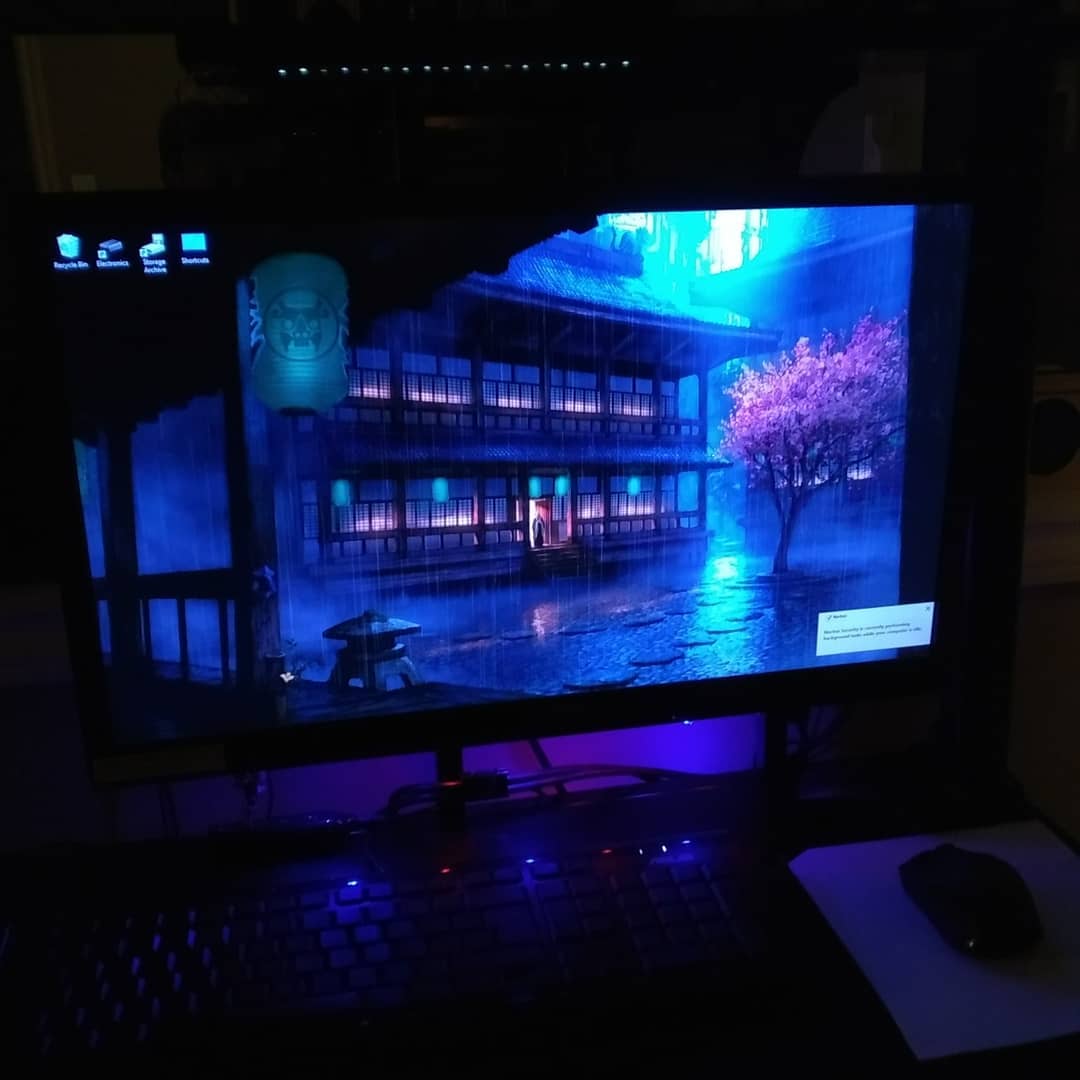
- I also made some LED lighting for my monitors during this time. This was more solder practice than it was an experiment.
October 2018
- During this month I gave the FM transmitter project another go, and made version 2! This transmitter worked a little more reliably, and after some reading I learned a little more about impedances and matching. Mind you I didn't know how to apply it let alone the circuit analysis required, but I still threw it in there as an experiment.
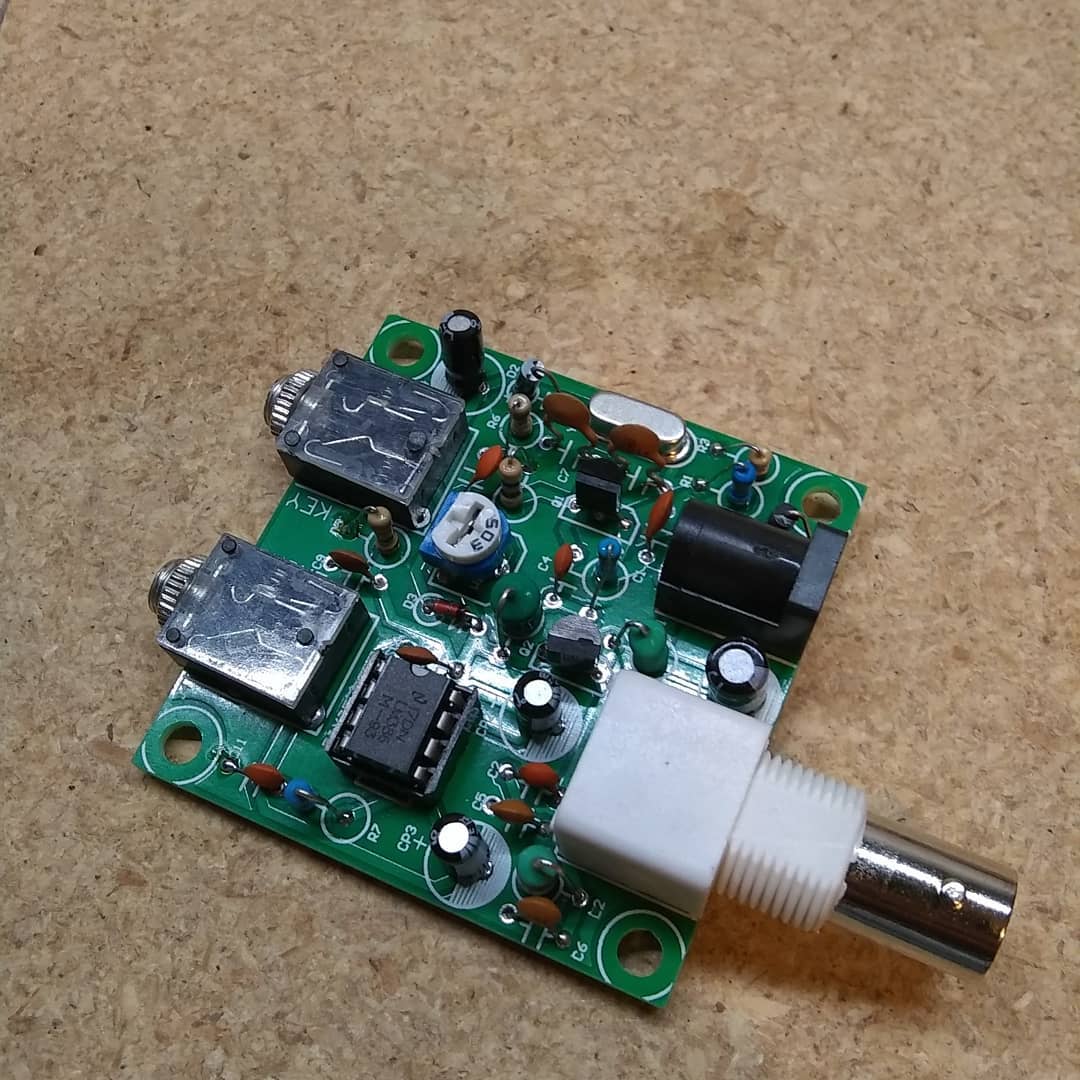
- I also bought a small 7MHz (40m band) morse code reciever kit as I was getting interested in amateur radio around this time.
November 2018
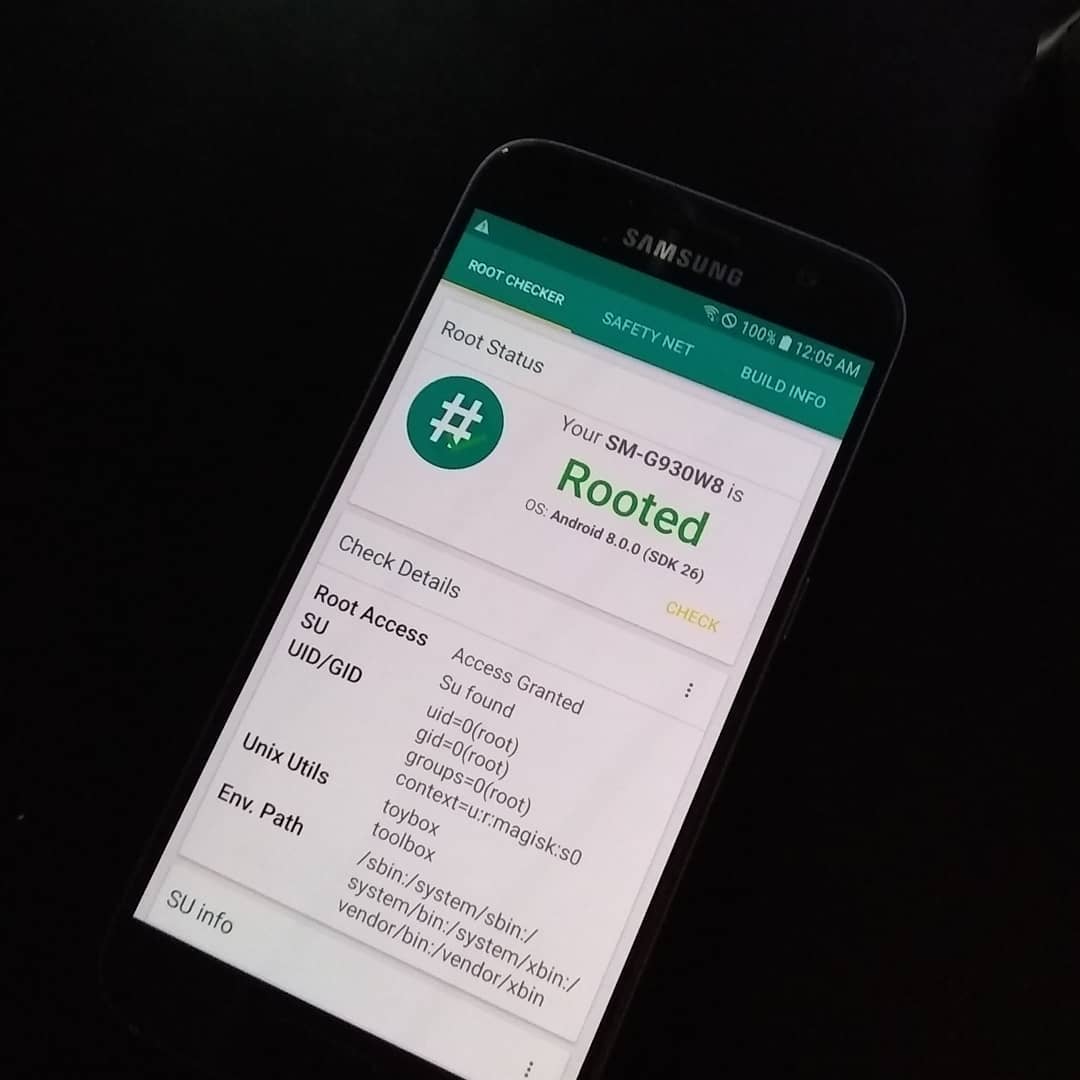
- November was a quiet month, the only experiment I have record of for this month was a Samsung S7 that I was able to gain root access to. This is a process known as Rooting, where you unlock the bootloader, flash a new bootloader, and then you have the ability to load any android operating system you'd like. In this case, I flashed an android OS called OxygenOS. I ran into issues right away however as the cameras did not function properly. This sort of issue made me choose to revert to the OEM samsung operating system.
December 2018
- If you remember the laptop I had in a couple of the previous images on this page, it was reaching its end of life as it had a number of issues. I decided, instead of throwing it all away, why not salvage the screen! So I took out the screen from the laptop, bought a driver board for it (for cheap too, it was only $30 at the time), and mounted it to a sheet of acrylic.